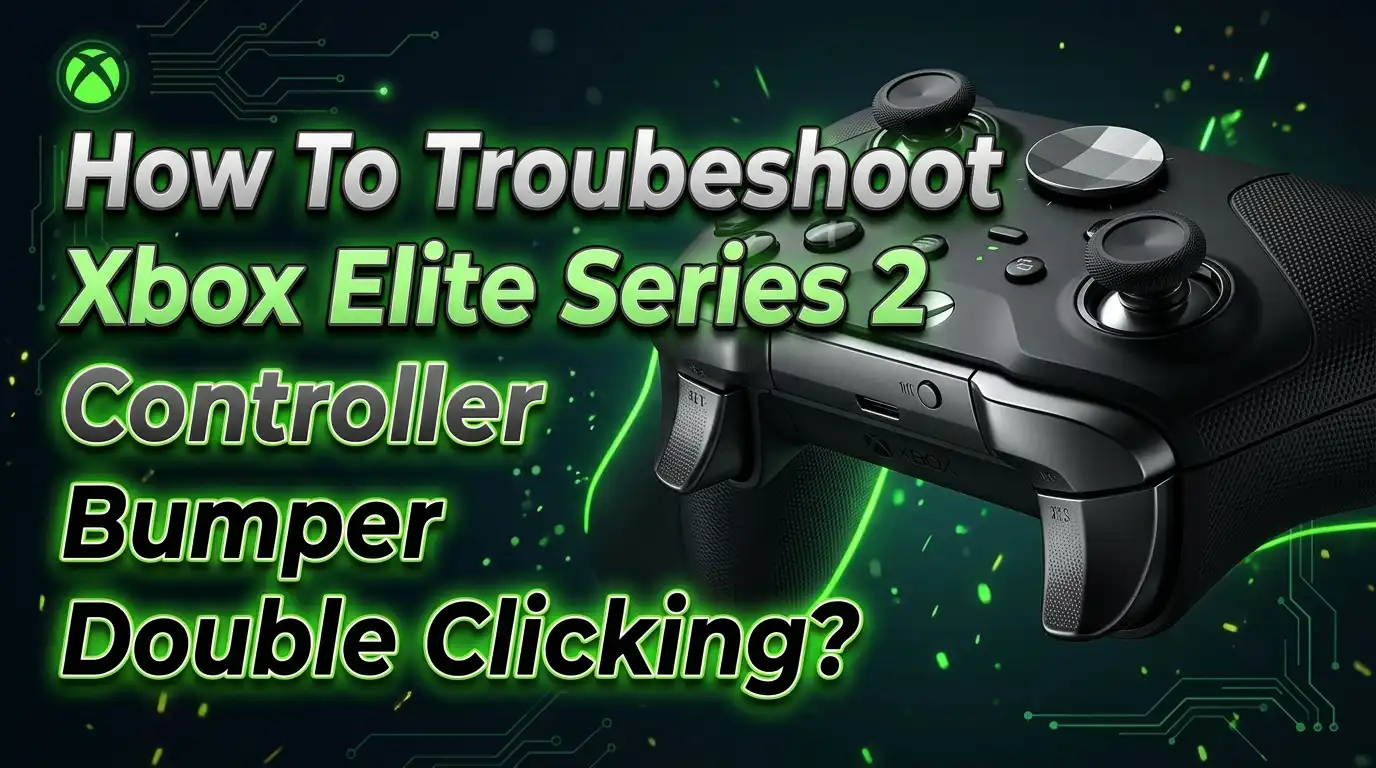
How To Troubleshoot Xbox Elite Series 2 Controller Bumper Double Clicking?
Your Xbox Series X Elite Controller bumper is double-clicking, and it’s driving you crazy. You press it once, but the game registers two inputs. This small issue can ruin your gaming sessions fast.
The good news? This problem is more common than you think, and it almost always has a simple fix.
Most double-clicking issues come from debris stuck inside the bumper mechanism. Early Elite Series 2 models are especially known for this problem due to defective switch actuators. But don’t assume the worst just yet.
In this guide, you will learn exactly how to troubleshoot your Xbox Elite Controller bumper double-clicking step by step. We cover everything from quick 5-minute fixes to deeper cleaning methods that require light disassembly.
By the end, you will know whether your issue is a simple debris problem or something that needs more attention. Let’s get your bumper working properly again.
In a Nutshell
Double-clicking bumpers are usually caused by debris stuck inside the mechanism or worn switch actuators, especially in early Elite Series 2 models.
Start with the simplest fix first — disable the trigger lock on the affected side, press the trigger fully down, and blow air into the bumper area.
Compressed air or a vacuum can clear out debris without you needing to open the controller at all.
If cleaning does not work, you may need to carefully pry open the case with a plastic tool and inspect the internal switch actuators.
The entire process typically takes about 5 minutes, and it works across Elite Series 1, Series 2, and standard controllers.
Never assume hardware failure before attempting a basic cleaning first — most people fix this issue without any disassembly at all.
What Causes the Bumper Double-Click Issue on Xbox Elite Controllers
The bumper double-click issue happens when your controller registers two clicks instead of one. This frustrates players because it makes games unplayable and ruins your experience.
Debris accumulation is the most common culprit. Dust, crumbs, and particles get inside the bumper mechanism over time. When you press the bumper, these particles interfere with the internal switch. The switch bounces or registers twice as a result.
Defective switch actuators cause the second major problem. Early Elite Series 2 models had particularly weak actuators. These small translucent components wear out faster than they should. When they fail, the bumper sends multiple signals from a single press.
Worn contact points also contribute to double-clicking. The internal metal contacts inside your bumper get damaged from repeated use. Your controller then needs harder pressure to register a single click. Sometimes it registers twice before settling down.
The right-angle switch actuators in your bumper are especially vulnerable. These components sit at specific angles inside the mechanism. If they shift slightly or collect dust, the electrical connection becomes unreliable. Your controller interprets the faulty signal as two separate presses.
Moisture sometimes plays a role too. If your controller got exposed to humidity or liquid, corrosion can form on the contacts. This causes the same double-click effect as debris.
Age and heavy use accelerate all these problems. Controllers used daily develop issues faster than occasional ones. Competitive gamers who press bumpers hundreds of times per session see problems sooner.
The good news is that debris causes most cases. You can fix this without opening your controller. Simple cleaning methods work about 80 percent of the time. Only when cleaning fails do you need to consider internal repairs or replacement.
Understanding these causes helps you pick the right solution. You will not waste time on fixes that will not work for your specific problem.
How to Identify If Your Bumper Is Actually Double-Clicking
Double clicking means your bumper registers two presses when you only press it once. You need to confirm this is actually happening before you try any fixes.
Start by testing the bumper in a game or app. Press the bumper slowly and deliberately. Count how many times the action triggers on screen. If one physical press causes two game actions, you have a genuine double click issue.
Try this in multiple games or apps to rule out software glitches. Different games respond differently to controller input. A problem in one game might not appear in another. If double clicking happens everywhere, the issue is definitely your hardware.
Pay attention to which bumper is affected. Your Xbox Elite Controller has two bumpers: one on the left side and one on the right side. Press each one separately. Note whether both bumpers double click or just one. This detail matters because it helps you narrow down the exact problem area.
Listen for any unusual sounds when you press the bumper. A normal bumper click should feel smooth and responsive. A bumper with problems might feel mushy, sticky, or produce a grinding sound. These audio and tactile clues confirm something is wrong inside the mechanism.
Test the bumper repeatedly about 10 times in a row. Sometimes double clicking happens intermittently rather than every single time. If it occurs randomly, the problem is likely debris that shifts around inside the controller. If it happens consistently every time, you might have a worn or defective switch actuator.
Write down your findings before moving to fixes. Note which bumper has the issue, how often it happens, and what it feels like. This information helps you decide whether cleaning will work or whether you need to open the controller for deeper inspection. Having clear details prevents you from wasting time on the wrong solution.
Quick Fixes You Can Try Without Opening the Controller
Start with the easiest method first. Disable the trigger lock on the same side as your problematic bumper. Press your trigger button all the way down while the lock is off. This simple action sometimes resets the internal mechanism and stops the double clicking immediately.
Next, try the air method. Hold your controller with the bumper facing downward. Blow air firmly into the bumper area or use a vacuum on low suction near the bumper. Debris often sits just inside the mechanism and comes loose with air pressure. Do this for about 30 seconds on each side.
If you have compressed air available, use short bursts. Point the nozzle at the bumper seam and spray for one or two seconds at a time. Let the controller rest for a minute between bursts. This gives any dislodged particles time to settle.
Test your bumper after each attempt. Press it 10 times in a game or app to see if the double clicking stops. Sometimes you need to repeat the air cleaning two or three times before results appear.
Try using a vacuum with a small attachment. Position the nozzle close to the bumper without touching it directly. The suction pulls out dust and particles that air alone might miss. This works especially well if debris has packed tightly inside.
Keep your controller in a clean, dry space while testing. Moisture can interfere with your results. Wait at least five minutes between attempts so any internal moisture evaporates.
Most double clicking issues resolve with these simple methods. You avoid opening your controller entirely, which means no risk of damaging internal parts. If these quick fixes don’t work after two or three attempts, then you can consider more involved solutions. Always start simple before moving to complex repairs.
How to Clean the Bumper Mechanism Using Compressed Air
Compressed air is one of the most effective ways to clean your bumper mechanism without taking apart your controller. This method works because debris trapped inside the bumper assembly causes the double-clicking problem.
Start by locating a can of compressed air. Make sure your controller is powered off and set it on a flat surface. Position the controller so the bumper you’re cleaning faces slightly upward at an angle.
Before you begin, disable the trigger lock feature on the corresponding bumper side. Press the trigger button fully down to ensure maximum access to the bumper area. This step opens up the internal space and allows air to flow more freely through the mechanism.
Hold the compressed air can upright and use short, controlled bursts. Do not hold the trigger continuously. Instead, press the nozzle in quick one to two second intervals. Direct the air stream into the gap around the bumper button itself.
Work the air into the bumper from multiple angles. Spray from the top, sides, and underneath the bumper if possible. The goal is to dislodge any dust particles or debris that accumulated inside the switch mechanism. You should see small particles or dust emerge from around the bumper area.
After each burst of air, test your bumper by pressing it several times. Listen for any crackling sounds that indicate debris is still present. If you hear noise, continue with additional short bursts of compressed air.
Take breaks between applications. Compressed air cans get cold when used continuously, and the nozzle may freeze up. Wait 30 seconds between bursts to let the can return to normal temperature.
Most controllers respond well to this cleaning method alone. The compressed air dislodges debris without risking damage to internal components. If double-clicking persists after thorough cleaning, you may need to consider other solutions.
Step-by-Step Guide to Disassembling the Bumper Area for Deep Cleaning
Before you open your controller, gather the right tools. You need a plastic pry tool or a soft spoon to avoid scratching your case. Metal tools can damage the plastic housing, so stick with plastic options only.
Start by powering off your controller completely. Disconnect it from your console or remove the batteries. This prevents accidental button presses while you work and keeps your hands safe.
Locate the seam where the two plastic halves meet. On the Xbox Series X Elite Controller, this seam runs along the bottom edge. Look carefully at where the bumper area connects to the main case.
Insert your plastic tool gently into the seam at the bottom. Apply steady, even pressure as you work around the perimeter. Move slowly from one side to the other. The case will pop open gradually as you go. Rushing this step can crack the plastic or break internal clips.
Work your way around the entire bottom edge before attempting to separate the halves completely. You may hear small clicks as internal clips release. This is normal and expected.
Once you reach the bumper area, be extra careful. The bumper mechanism sits near the top section of the controller. Avoid pulling the halves apart suddenly, as ribbon cables connect the two sides internally.
Open the case slowly and only as far as needed. You don’t need to fully separate the controller to access the bumper area. A small opening gives you enough space to see inside and clean effectively.
Keep all small parts visible as you work. Screws, springs, and clips can fall easily. Place them on a clean surface where you won’t lose them.
Take photos of the internal layout before cleaning. These images help you remember how everything fits back together. This simple step saves time during reassembly and prevents mistakes.
How to Inspect and Address Worn or Defective Switch Actuators
When you open your controller, you’ll see the switch actuators. These small parts sit under your bumpers and make the clicking sensation when pressed. Early Elite Series 2 models often have translucent actuators that wear out faster than newer versions.
Look for visible damage first. The actuator might have cracks, discoloration, or loose components. Debris often sticks to the contact points inside. You’ll notice a sticky or grainy feeling if dirt has built up over time. Gently rotate the actuator with your finger to check if it moves freely.
The actuator has a small spring mechanism underneath. If this spring feels loose or doesn’t return to its original position, the part needs replacement. Press down on the actuator several times while observing the movement. It should click smoothly without sticking or grinding sounds.
Worn contact points cause most double click problems. These are tiny metal surfaces that complete an electrical circuit. When they wear down, the controller registers multiple clicks from one press. You can see them as small metallic dots on the actuator base. If they look flattened or pitted, that’s your culprit.
Sometimes debris sits between the actuator and the contact points. Use a dry cotton swab to gently clean around these areas. Avoid using liquids, as moisture can damage the electrical components. Work slowly and carefully around the spring mechanism.
If the actuator looks severely damaged or the spring won’t return to position, the part is defective. Most double clicking issues come from debris rather than actual defects. Cleaning usually fixes the problem within minutes. If cleaning doesn’t work after multiple attempts, the actuator likely needs replacement.
Common Mistakes to Avoid When Troubleshooting Bumper Double-Clicking
Many people rush straight to disassembly when their bumper starts double clicking. This is actually a mistake. You should always try simple cleaning methods first because they work about 80 percent of the time.
Don’t assume your controller is broken. Most double clicking happens because dust or debris sits inside the bumper mechanism. Your first instinct might be to open the controller, but this can actually cause more problems if you’re not careful with the delicate internal parts.
Another common mistake is using the wrong cleaning tools. Never use liquid cleaners or water on your controller. These can damage the electrical components permanently. Stick to dry methods like compressed air or a small vacuum designed for electronics.
Some people disable trigger lock incorrectly or forget this step entirely. You must disable trigger lock on the corresponding bumper side before cleaning. This lets you access the mechanism properly and test it accurately afterward.
Avoid pressing the bumper repeatedly during troubleshooting without breaks. This can actually make the problem worse by grinding debris deeper into the contact points. Test gently and give the mechanism time to settle between attempts.
Don’t skip the testing phase between cleaning attempts. After each cleaning session, press your bumper slowly and feel for the double click. This tells you if you’re making progress or need to try a different approach.
Many people also make the mistake of cleaning only one angle. Debris can hide in multiple spots around the bumper area. You need to apply compressed air from different directions to reach all the trapped particles.
Finally, avoid getting frustrated and forcing open your controller if it seems stuck. Forcing the case can crack the plastic or damage the ribbon cables inside. Work slowly and methodically around the entire bottom edge before attempting to separate the halves.
Final Thoughts
Bumper double clicking on the Xbox Series X Elite Controller is a frustrating problem, but it is almost always fixable.
The most important takeaway is this: cleaning solves the issue in most cases. Debris and dust are the primary reasons bumpers register double inputs. You do not need to panic or assume your controller is permanently broken.
Start simple before going deeper. Disable the trigger lock, press the trigger fully, and blow air into the bumper area first. This quick method takes less than a minute and often works immediately.
If the quick fix does not work, move to compressed air or a vacuum. Most controllers respond well to a thorough air cleaning without any disassembly at all. Give this step a real chance before opening anything up.
When cleaning alone does not help, disassembly is your next step. The process is straightforward and typically takes around five minutes. Use a plastic tool, work carefully around the perimeter, and avoid forcing anything open.
Once inside, inspect the switch actuators closely. Early Elite Series 2 models had translucent actuators that were particularly prone to defects. If yours shows visible damage or the spring does not return properly, the actuator itself is the problem.
Worn contact points are another common culprit. These tiny metal surfaces lose their effectiveness over time, especially with heavy use.
The fix process is largely the same across Elite Series 1, Elite Series 2, and standard controllers. So the knowledge you gain here applies broadly.
Patience matters throughout this process. Rushing leads to missed steps and unnecessary frustration. Take your time, test after each stage, and document your progress with photos.
Most people who follow these steps correctly get their controller working properly again. You have everything you need to fix this issue confidently.
Frequently Asked Questions
Why does my bumper register multiple clicks when I press it once?
Your bumper double clicks because debris sits inside the mechanism or the switch actuators wear down. Dust and small particles block the contact points from working properly. Early Elite Series 2 models had defective actuators that made this problem worse. The good news is that cleaning fixes the issue in most cases.
Can I fix double clicking without opening my controller?
Yes, you can try several methods first. Disable trigger lock on that bumper side and press the trigger fully down. Hold the trigger and blow air into the bumper area to dislodge debris. Use a vacuum or compressed air to remove dust from the outside. Most people solve the problem this way without disassembly.
What should I do if cleaning doesn’t work?
Open your controller carefully using a plastic tool from the bottom edge. Work around the perimeter slowly to avoid damage. Look at the switch actuators inside. Check for visible cracks, discoloration, or loose springs. Worn contact points (tiny metal surfaces) often cause double clicking. If the actuator looks severely damaged or won’t spring back, it’s defective and needs replacement.
How long does the fix take?
A complete troubleshooting and cleaning session takes about 5 minutes. Disassembly adds another 10 to 15 minutes if needed. The process is similar across Elite Series 1, Elite Series 2, and standard controllers. Test your bumper slowly after each cleaning attempt to track progress.
Is this a hardware failure or user error?
It’s rarely user error. Double clicking happens because of normal wear or manufacturing defects, not because you pressed too hard. Don’t assume your controller is broken before trying basic cleaning. Most people fix this issue themselves without professional help.

Hi, I’m Lily — a tech enthusiast and the voice behind SmartResizerr.com. I love testing gadgets, breaking down specs into plain English, and helping everyday people find the right tech without the overwhelm.