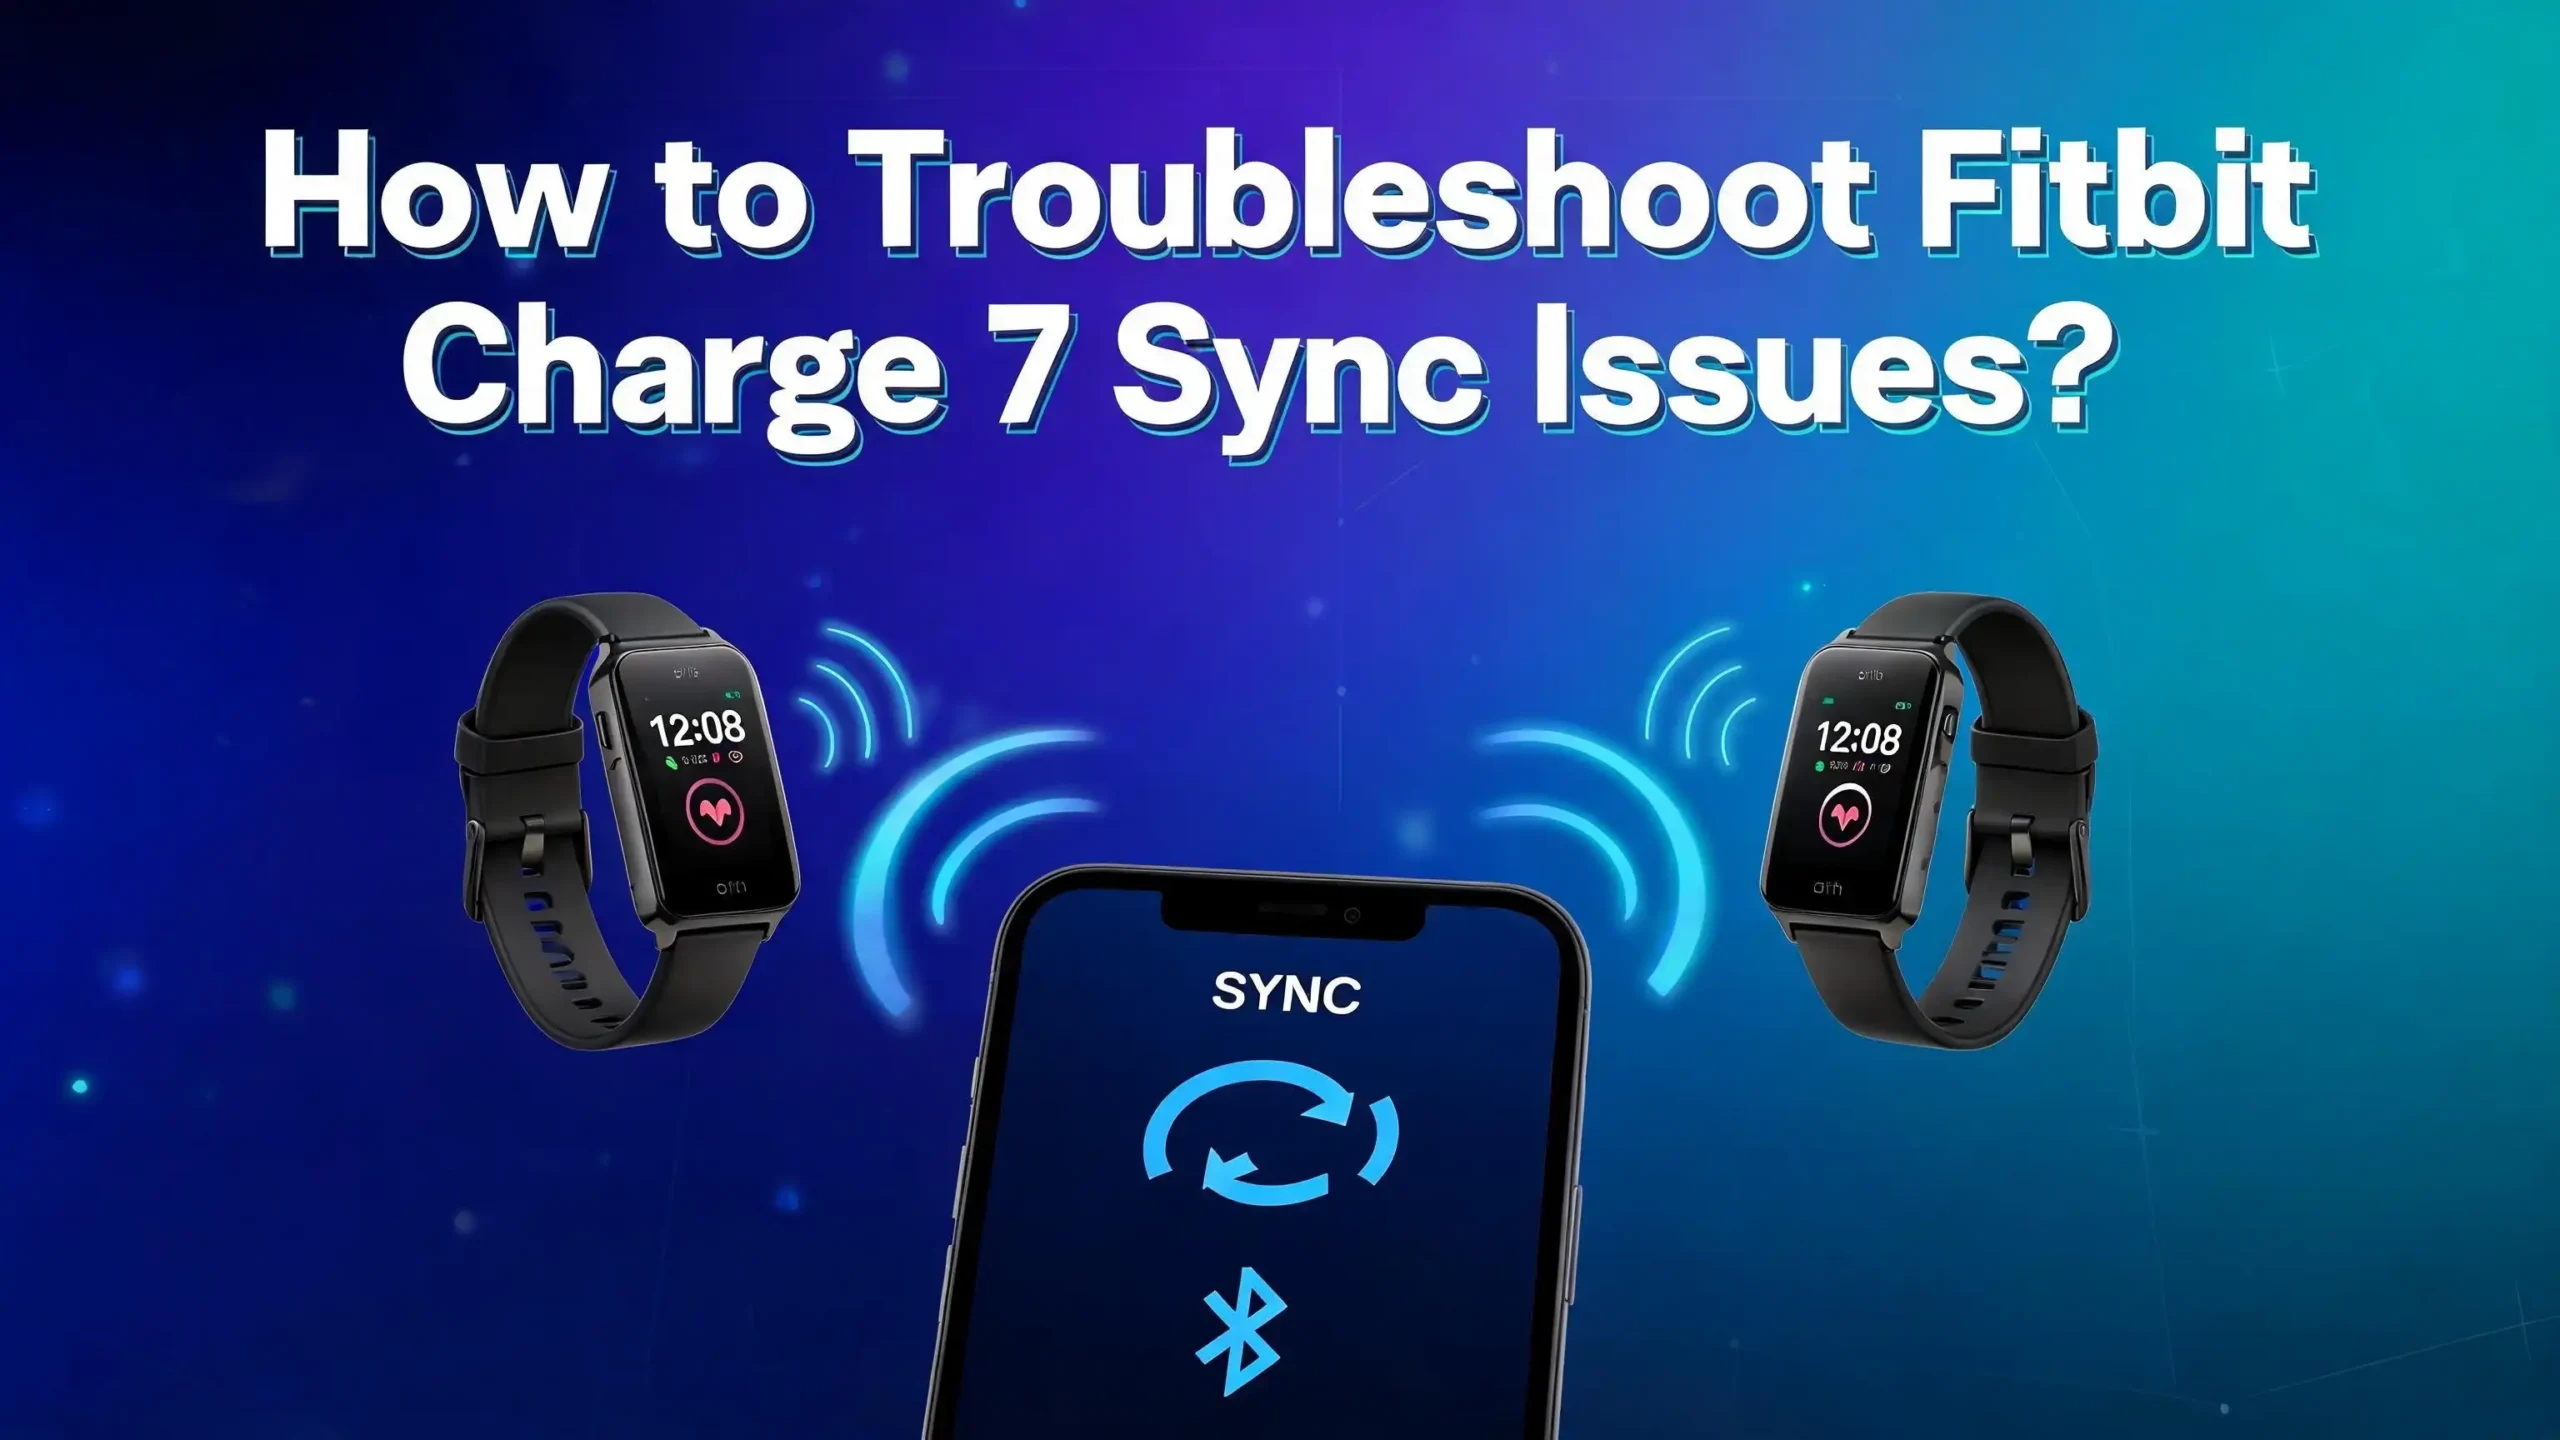
How to Troubleshoot Fitbit Charge 7 Sync Issues?
Your Fitbit Charge 7 is your daily companion for tracking steps, monitoring sleep, and keeping up with heart rate data. But what happens when it suddenly stops syncing? This is one of the most frustrating experiences for any Fitbit Charge 7 user.
Sync problems on the Charge 7 can happen for many reasons. A weak Bluetooth signal, an outdated app, incorrect phone permissions, or even a simple software glitch can stop your tracker from communicating with your phone. The good news is that most of these problems are easy to fix once you know where to look.
This guide walks you through every practical solution. You will learn how to identify the root cause of your sync failure and apply step by step fixes. Let’s get your Fitbit Charge 7 syncing again.
Key Takeaways
- Bluetooth is the primary connection between your Fitbit Charge 7 and your phone. Turning Bluetooth off and back on often resolves quick sync failures instantly.
- Outdated apps and firmware cause sync errors. Always keep the Google Health app (formerly Fitbit app) and your Charge 7 firmware updated to the latest versions available.
- Phone permissions matter more than you think. Your phone needs to grant Location and Nearby Devices permissions to the health app for syncing to work.
- Restarting both devices clears temporary glitches. A simple restart of your Charge 7 and your phone can solve sync issues that have been lingering for hours or days.
- Other Bluetooth devices create interference. If you have multiple Bluetooth gadgets connected to your phone, they can compete with your Fitbit for a stable connection. Disconnect unused devices before syncing.
- A factory reset is the last resort but very effective. If nothing else works, resetting your Charge 7 to factory settings and setting it up again as a new device will often clear persistent sync problems completely.
Understanding Why Your Fitbit Charge 7 Fails to Sync
Your Fitbit Charge 7 relies on Bluetooth Low Energy (BLE) to transfer data to your phone. This connection must remain stable for the sync process to complete. Several factors can interrupt this data transfer.
The most common cause is a disrupted Bluetooth connection. Your phone may have moved out of range, or another device may have taken priority on the Bluetooth channel. Background app restrictions on your phone can also prevent the health app from maintaining its connection.
Outdated software is another frequent cause. Both the Google Health app and the Charge 7 firmware receive periodic updates. Missing these updates can create compatibility gaps that block the sync process. Users have reported on forums that sync issues often appear right after a phone OS update.
Battery saver mode and Bedtime mode on your phone can also interfere. These modes limit background data connections. When active, they prevent the health app from receiving data from your tracker.
Account conflicts create problems too. If you have the Google Health app installed on more than one device and both are signed into the same account, your Charge 7 may struggle to decide which phone to connect to. This creates a tug of war that stops syncing on both devices.
Restart Your Fitbit Charge 7
A restart is the fastest and simplest fix. It clears temporary software glitches without erasing any of your stored data. Your activity history, sleep data, and settings will all remain intact after a restart.
To restart your Fitbit Charge 7, swipe down from the clock face to find the Settings app. Tap on Settings. Scroll down and tap Restart Device. Then confirm by tapping Restart. Your tracker will power off and turn back on within a few seconds.
If your Charge 7 screen is frozen or unresponsive, you need a forced restart. Connect your device to its charging cable. Press the button on the flat end of the charger three times with a one second pause between each press. Wait about 10 seconds or until the Fitbit logo appears on the screen. This method works even when the touchscreen has completely stopped responding.
After the restart, open the Google Health app on your phone. Try syncing again by pulling down on the Today tab. Many users find that a simple restart solves their sync issue right away. If the problem continues, move to the next solutions below.
Toggle Bluetooth Off and On
Bluetooth issues account for a large percentage of sync failures on the Fitbit Charge 7. A quick Bluetooth reset on your phone can restore the connection in seconds.
On Android, open your Settings app. Tap Connected Devices or Bluetooth. Turn the Bluetooth toggle off. Wait at least three seconds. Then turn it back on. On iPhone, go to Settings, tap Bluetooth, and toggle it off and back on.
Do not just toggle Bluetooth from your phone’s quick settings panel. Some users have reported that the quick settings toggle does not fully reset the Bluetooth stack. Going through the full Settings menu ensures a complete reset of all Bluetooth connections.
After re enabling Bluetooth, open the Google Health app and bring your Charge 7 close to your phone. Attempt a manual sync by pulling down on the Today tab screen. The app should detect your tracker and begin transferring data.
If Bluetooth still won’t connect, try toggling Airplane Mode on your phone. Turn Airplane Mode on, wait five seconds, then turn it off. This resets all wireless connections including Bluetooth, Wi-Fi, and cellular data at once. Many Fitbit community members confirm that this Airplane Mode trick fixes stubborn Bluetooth issues that a simple toggle cannot resolve.
Force Close and Reopen the Google Health App
Sometimes the problem is not with your Charge 7 but with the app on your phone. A stuck or frozen app process can silently block the sync without showing any error message.
On Android, open Settings, tap Apps, find Google Health (or Fitbit), and tap Force Stop. Confirm the action. Then reopen the app from your home screen. On iPhone, swipe up from the bottom of the screen (or double tap the Home button on older models) to see your recent apps. Swipe the Google Health app card upward to close it completely. Then tap the app icon to reopen it.
Force closing differs from simply pressing the home button. Pressing the home button only minimizes the app. It continues running in the background. A force close shuts down all processes connected to the app and gives it a fresh start.
After reopening the app, you should see the sync indicator start spinning. If your Charge 7 is nearby and Bluetooth is active, the sync should complete within a minute or two. Check your step count and recent activity data to confirm that the latest information has transferred.
Clear the App Cache on Android
Cached data builds up over time inside the Google Health app. Corrupted cache files can interfere with the sync process and cause repeated failures.
Open your phone’s Settings app. Tap Apps and find the Google Health app in the list. Tap Storage and Cache. Tap Clear Cache. This removes temporary files without deleting your account data or settings. Your login credentials and device pairing will remain unchanged.
If clearing the cache does not fix the problem, you can take one step further and tap Clear Storage (or Clear Data). This resets the app to its original state. You will need to log in again and may need to re pair your Charge 7. However, all your fitness data is stored on the Fitbit servers, so nothing is permanently lost.
Reddit users have shared that the Force Stop plus Clear Cache combination fixes sync issues immediately in many cases. Perform Force Stop first, then Clear Cache, then reopen the app. This sequence ensures the app starts with a completely clean state.
iPhone users do not have a direct cache clearing option. The alternative is to delete and reinstall the app, which achieves the same result.
Update the Google Health App and Firmware
Running outdated software is a leading cause of sync failures. Both the app on your phone and the firmware on your Charge 7 must be current for smooth syncing.
To update the Google Health app on Android, open the Google Play Store. Search for Google Health. If an update is available, tap Update. On iPhone, open the App Store, tap your profile icon, and scroll down to find pending updates. Tap Update next to the Google Health app.
Firmware updates for your Charge 7 install through the app itself. Open the Google Health app and tap on your profile. Select your Charge 7 device. If a firmware update is available, you will see an Update option. Tap it and keep your tracker on its charger and near your phone during the entire update process. Firmware updates can take 15 to 30 minutes, so do not interrupt the process.
Some users have experienced sync problems that started right after a firmware update. In these cases, restarting both the tracker and the phone after the update completes usually resolves the issue. Check community forums for any known bugs related to specific firmware versions.
Check Phone Permissions for the App
Your phone’s operating system requires specific permissions for the Google Health app to communicate with your Fitbit Charge 7. Missing permissions can silently block syncing without showing any obvious error.
On Android, open Settings, tap Apps, find Google Health, and tap Permissions. Make sure that Location and Nearby Devices (on Android 12 and above) are both set to Allow. Bluetooth on Android requires location permission to scan for nearby devices. Without it, your phone cannot detect your Charge 7.
Also check that the app has permission to run in the background. Go to Settings, tap Apps, select Google Health, and look for Battery or Battery Optimization. Set the app to Unrestricted or exclude it from battery optimization. Battery saving features can put the app to sleep and prevent background syncing.
On iPhone, go to Settings, scroll down to the Google Health app, and make sure Bluetooth is toggled on. Also verify that Background App Refresh is enabled for the app under Settings, then General, then Background App Refresh.
These permission checks take less than a minute but solve a surprising number of persistent sync issues.
Remove Other Devices from Your Account
Having the Google Health app installed on multiple phones or tablets can cause device conflicts that prevent your Charge 7 from syncing.
Your Fitbit Charge 7 can only maintain an active connection with one phone at a time. If you previously used a different phone, or if a family member logged into your Fitbit account on their device, the tracker may attempt to connect to the wrong phone.
To fix this, uninstall the Google Health app from any other phone or tablet that is signed into your account. Then go to your current phone’s Bluetooth settings. Look for any old Fitbit entries in the paired devices list. Remove or forget them. This clears ghost connections that can interfere with the active pairing.
You should also check if other Bluetooth devices near you are causing interference. Wireless earbuds, smartwatches, fitness trackers from other brands, and Bluetooth speakers can all compete for your phone’s Bluetooth bandwidth. Disconnect or turn off any unused Bluetooth accessories before attempting to sync your Charge 7.
After clearing these potential conflicts, restart your phone and open the Google Health app. Try syncing again. The connection should establish faster with fewer competing devices.
Disable Battery Saver and Do Not Disturb Modes
Battery Saver mode, Bedtime mode, and Do Not Disturb mode can all restrict background connectivity on your phone. This directly affects your Fitbit Charge 7’s ability to sync data.
On Android, swipe down from the top of your screen to open the notification panel. Check if Battery Saver is active. If it is, tap to disable it. Also check for any active Do Not Disturb settings. These modes limit what apps can do in the background, including establishing Bluetooth connections.
On iPhone, Low Power Mode can affect Bluetooth performance. Go to Settings, tap Battery, and turn off Low Power Mode. Also check Focus modes under Settings, then Focus. Any active Focus mode might restrict the Google Health app’s ability to send notifications and sync data.
Google’s official support documentation confirms that Battery Saver mode and Bedtime mode on phones limit background data connectivity. Fitbit data will not sync while these modes are active. Data will only transfer once you turn them off.
Make it a habit to disable power saving modes before you need to sync, or add the Google Health app to your phone’s list of apps that are exempt from battery restrictions. This ensures consistent syncing throughout the day.
Uninstall and Reinstall the Google Health App
When simpler fixes have not worked, a complete reinstall of the Google Health app can clear deep software issues that cache clearing alone cannot reach.
Before uninstalling, confirm that your phone is running a supported operating system version. If your phone runs an older OS, you may not be able to reinstall the latest version of the app. Check the app store listing for minimum OS requirements.
On Android, go to Settings, tap Apps, select Google Health, and tap Uninstall. Restart your phone. Then open the Google Play Store and reinstall the app. On iPhone, press and hold the app icon, tap Remove App, then confirm. Restart your phone and download the app again from the App Store.
After reinstalling, log into your account. Your Charge 7 should appear in your device list. If it does not, you may need to set it up again as a new device. All your historical fitness data is stored on the server and will reappear once the sync completes.
This step is especially effective when sync problems started after a phone OS update. A fresh install ensures the app has all the correct files and configurations for your current operating system version.
Forget and Re Pair Your Charge 7 via Bluetooth
Sometimes the Bluetooth pairing between your phone and Charge 7 becomes corrupted. Removing the pairing and creating a new one can restore communication.
On Android, open Settings and tap Connected Devices or Bluetooth. Find your Fitbit Charge 7 in the list of paired devices. Tap the settings icon next to it and select Forget or Unpair. On iPhone, go to Settings, tap Bluetooth, find your Charge 7, tap the info icon, and tap Forget This Device.
After forgetting the device, restart your phone. This clears any residual Bluetooth data associated with the old pairing. Then open the Google Health app and follow the on screen prompts to pair your Charge 7 again. Keep the tracker close to your phone during the pairing process.
The re pairing process takes about two to three minutes. Once complete, attempt a manual sync. You should see your latest data begin transferring. This method has a high success rate because it eliminates any corrupted pairing data that built up over time.
If the app does not prompt you to re pair, go to your account settings inside the app, tap Set Up a Device, and select your Charge 7 model.
Perform a Factory Reset on Your Charge 7
A factory reset erases all data stored on your tracker and returns it to its original settings. Use this only as a last resort after all other methods have failed.
Before resetting, make sure you have attempted a manual sync so that as much data as possible transfers to the server. Any data that has not synced will be permanently lost after the reset.
To factory reset your Fitbit Charge 7, swipe down from the clock face and open the Settings app. Scroll down and tap About. Tap Clear User Data or Factory Reset. Confirm the action. The tracker will erase its stored data and restart.
After the reset, your Charge 7 will display the setup screen. Open the Google Health app on your phone and set it up as a new device. You will need to reconfigure your clock face, notification preferences, and any alarms you had previously set.
All your historical fitness data remains safe on the Fitbit servers. Once the setup and initial sync complete, your past activity history will still be visible in the app. The factory reset only clears the local storage on the tracker itself.
Contact Fitbit Customer Support
If you have tried every solution above and your Charge 7 still refuses to sync, the issue may be a hardware defect or a server side problem that requires professional assistance.
Visit the Google Health support page and select your Charge 7 as the device. You can chat with a support agent, request a callback, or submit a support ticket by email. Have your Fitbit account details and device serial number ready.
Check the Fitbit community forums before contacting support. Other users may have already found a solution for the exact same issue. Forums also help you determine if the problem is widespread, such as a server outage affecting many users at once.
If your Charge 7 is still within its warranty period, you may qualify for a replacement device. Google offers a limited warranty for Fitbit products, and sync issues caused by hardware defects are typically covered.
You can also try syncing your Charge 7 with a completely different phone. If it syncs successfully with another device, the issue lies with your original phone rather than the tracker itself. This test helps narrow down the cause before contacting support.
Prevent Future Sync Issues on Your Fitbit Charge 7
Prevention saves time and frustration. A few simple habits can keep your Charge 7 syncing smoothly every day.
Keep the Google Health app updated at all times. Enable automatic updates in your app store so you never miss a critical patch. Also accept firmware updates for your Charge 7 as soon as they become available. These updates often include bug fixes for known sync problems.
Sync your Charge 7 at least once a day. The tracker stores several days of detailed data, but regular syncing prevents large data backlogs that can slow down or fail during transfer. Open the app and let it sync while you charge your tracker each day.
Avoid connecting too many Bluetooth devices to your phone at the same time. Keep your phone’s operating system updated. Restart your phone and tracker at least once a week to clear minor software issues before they grow into bigger problems.
Grant the Google Health app unrestricted battery access so it can sync in the background without interruption. This single setting prevents many of the most common sync failures that users experience.
Frequently Asked Questions
Why does my Fitbit Charge 7 say “sync failed” every time I try?
This usually means your Bluetooth connection is interrupted or the Google Health app has stalled. Start by toggling Bluetooth off and on. Then force close and reopen the app. If the problem persists, clear the app cache or reinstall the app entirely.
How close does my phone need to be for the Charge 7 to sync?
Your phone should be within 30 feet (about 10 meters) of your Charge 7 for a reliable Bluetooth connection. However, walls, furniture, and other electronic devices can reduce this range. For the best results, keep your phone right next to your tracker during syncing.
Will I lose my fitness data if I factory reset my Fitbit Charge 7?
You will lose any data stored on the tracker that has not yet synced to the cloud. However, all data that has already synced to your Google Health account remains safe on the servers. After the reset, your historical data will still appear in the app.
Can I sync my Fitbit Charge 7 with more than one phone?
Your Charge 7 can only actively sync with one phone at a time. If you want to switch phones, you need to remove the device from the first phone’s Bluetooth settings and set it up again on the new phone through the Google Health app.
How often should I sync my Fitbit Charge 7?
Syncing at least once per day is recommended. The Charge 7 can store several days of data, but regular syncing reduces the chance of data transfer errors and keeps your app stats current. Many users sync each time they charge their tracker.
Does a phone software update affect Fitbit syncing?
Yes. Phone OS updates can change Bluetooth protocols, app permissions, and background process rules. After a major phone update, check that the Google Health app still has all required permissions. Reinstalling the app after an OS update can also prevent compatibility issues.
Hi, I’m Lily — a tech enthusiast and the voice behind SmartResizerr.com. I love testing gadgets, breaking down specs into plain English, and helping everyday people find the right tech without the overwhelm.