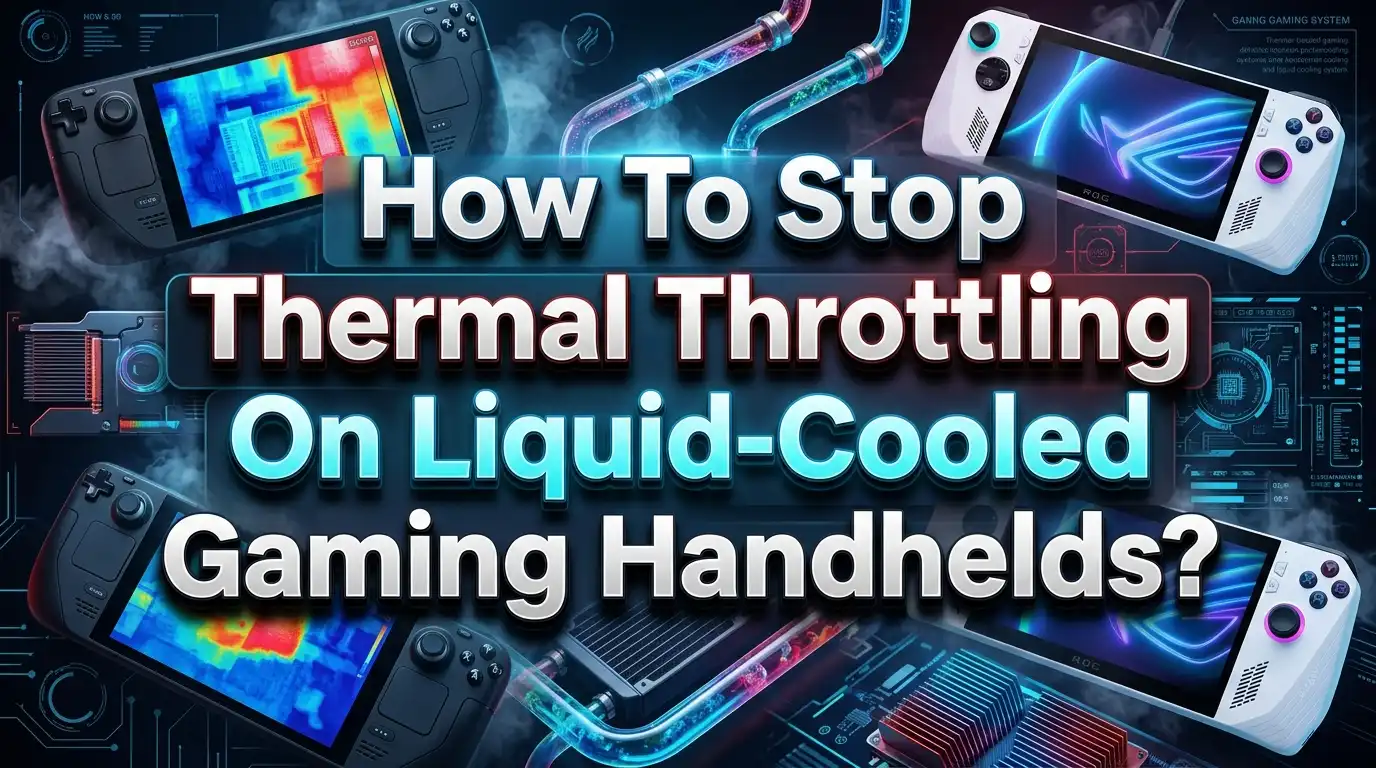
How To Stop Thermal Throttling On Liquid Cooled Gaming Handhelds?
You just fired up your favorite AAA title on your liquid cooled gaming handheld. The first five minutes feel incredible. Then the frame rate dips, the device gets uncomfortably warm, and your gaming session turns into a slideshow. Sound familiar?
Thermal throttling is the silent performance killer that plagues even the most advanced portable gaming PCs. It does not matter if your handheld has a liquid cooling module, a vapor chamber, or dual fans. Heat will always find a way to slow you down if your cooling setup is not properly managed.
The good news? You can fight back. This guide walks you through every practical, step by step solution to stop thermal throttling on your liquid cooled gaming handheld. From simple software tweaks to hardware level adjustments, you will find clear and direct fixes that actually work.
Key Takeaways
- Thermal throttling occurs when your handheld’s processor hits unsafe temperatures and automatically reduces clock speeds to protect itself. This causes stuttering, frame drops, and poor gameplay even on liquid cooled devices.
- Adjusting TDP (Thermal Design Power) settings is one of the fastest and most effective ways to reduce heat output. Lowering TDP by even a few watts can prevent throttling while still delivering smooth performance in most games.
- Custom fan curves and proper airflow management play a major role in keeping internal temperatures stable. Setting fans to ramp up earlier at lower temperatures helps prevent heat buildup before it triggers throttling.
- Liquid cooling systems require regular maintenance including coolant level checks, air bubble removal, and proper connector sealing. A neglected liquid cooler performs worse than a well maintained air cooler.
- Replacing stock thermal paste with a high quality alternative can drop CPU and GPU temperatures by 5 to 15 degrees Celsius. This single upgrade often produces the biggest improvement in sustained performance.
- Your gaming environment and physical handling habits directly affect cooling performance. Playing on soft surfaces, blocking vents with your hands, or gaming in hot rooms all reduce your cooling system’s ability to remove heat effectively.
What Is Thermal Throttling and Why Does It Happen
Thermal throttling is a built in safety feature. Your handheld’s processor monitors its own temperature constantly. When that temperature crosses a set limit, the chip automatically reduces its clock speed and voltage to generate less heat. This protects the hardware from permanent damage, but it also tanks your performance.
On liquid cooled gaming handhelds, thermal throttling happens for specific reasons. The liquid cooling loop may not transfer heat fast enough. The radiator surface area may be too small for the TDP you are running. Air bubbles inside the loop can block coolant flow. Even the best liquid cooling system will fail to prevent throttling if the thermal interface between the chip and the cold plate is poor.
Modern handheld processors like the AMD Ryzen AI Max+ 395 can push up to 120W TDP. That is an enormous amount of heat in a tiny device. The cooling system must work perfectly to handle that thermal load. Any weak link in the chain, from dried thermal paste to a dusty radiator, will cause temperatures to spike and throttling to kick in.
Understanding this process is the first step to fixing it. You are not fighting the throttling itself. You are fighting the heat that causes it.
Check Your Liquid Cooling System for Common Faults
Before you change any software settings, inspect your liquid cooling hardware. Many throttling problems trace back to a physical issue in the cooling loop that software cannot fix.
Start by checking for air bubbles in the coolant lines. Air is a poor conductor of heat compared to liquid. If bubbles get trapped near the cold plate, heat transfer drops significantly. Gently tilt and rotate your device to help trapped air move toward the radiator where it causes less harm. Some external liquid cooling docks, like the OneXPlayer Frost Bay, have bleed valves or fill ports that let you purge air from the system.
Next, inspect all fittings and connections for leaks. Even a tiny leak reduces coolant volume and introduces air into the loop. Look for moisture around connectors, especially after transporting your device.
Finally, check the coolant level itself. Liquid cooling systems lose small amounts of coolant over time through permeation. Low coolant means less thermal mass to absorb and transfer heat. Top off the reservoir if your system allows it, and use the coolant type specified by the manufacturer.
Lower Your TDP for Immediate Temperature Relief
TDP adjustment is the single fastest way to reduce thermal throttling on any gaming handheld. TDP stands for Thermal Design Power, and it controls how much power your processor can draw. More power means more heat. Less power means cooler operation.
Most modern gaming handhelds let you adjust TDP through their companion software. The ROG Ally uses Armoury Crate. AYANEO devices use AYASpace. OneXPlayer devices use OneXConsole. Dropping your TDP by 5 to 10 watts can reduce temperatures by 10 degrees or more while still providing enough power for smooth gameplay in most titles.
The trick is finding the right balance. You do not want to cut so much power that games become unplayable. Start at your device’s maximum TDP and lower it in small increments until you find the point where performance stays acceptable and temperatures stay under the throttling threshold.
For less demanding games like indie titles or emulated retro games, a TDP of 8 to 15 watts is often plenty. For demanding AAA games, you may need 25 to 35 watts. Dynamic TDP modes available on many devices can automatically adjust power based on game demand. This is an excellent set and forget solution.
Set Up Custom Fan Curves for Better Heat Removal
Your fans are the final stage of heat removal. The liquid cooling loop transfers heat from the chip to the radiator, but the fans must push that heat out of the device. Stock fan curves on most handhelds are conservative. They prioritize quiet operation over maximum cooling.
Custom fan curves fix this problem. Using your device’s software utility, you can tell the fans to spin faster at lower temperatures. This prevents heat from accumulating inside the device before it reaches the throttling point.
A good starting fan curve for gaming sessions looks like this. Set the fans to 30% speed at 50 degrees Celsius. Ramp to 60% at 65 degrees. Push to 80% at 75 degrees. Run at 100% above 80 degrees. This aggressive curve keeps the radiator clear of heat before temperatures become critical.
Yes, the fans will be louder. But a louder handheld that runs at full speed beats a quiet one that stutters every 30 seconds. Many players use headphones during gaming sessions anyway, which makes fan noise a nonissue. Prioritize cooling over silence during intense gaming, and save the quiet profile for light tasks like web browsing or media playback.
Replace Stock Thermal Paste with a Premium Alternative
The thermal paste between your processor and the cold plate is a critical link. Factory applied thermal paste on gaming handhelds is often mediocre. It gets the job done at first, but it dries out and loses effectiveness over time. Replacing it with a high quality compound is one of the best upgrades you can make.
Premium thermal pastes like Thermal Grizzly Kryonaut or Noctua NT H2 offer significantly better thermal conductivity than stock compounds. Users have reported temperature drops of 5 to 15 degrees Celsius after repasting their gaming handhelds. That is often enough to eliminate throttling entirely.
The process requires disassembling your device, so proceed carefully. Remove the back panel, detach the cooling assembly, clean off the old paste with isopropyl alcohol, and apply a small pea sized dot of new paste to the center of the processor die. Reassemble everything and make sure all screws are properly tightened.
Phase change thermal pads like Honeywell PTM7950 are another excellent option. These pads change state at high temperatures and fill microscopic gaps between the chip and cold plate more effectively than traditional paste. Several community members have reported excellent results with these on devices like the Lenovo Legion Go and AYANEO handhelds.
Optimize In Game Settings to Reduce Heat Load
Not every game needs maximum settings. Reducing the workload on your processor directly reduces heat output. This is a free and immediate way to fight thermal throttling without opening your device or buying accessories.
Start with resolution scaling. Dropping from native resolution to 80% or 720p significantly reduces GPU workload. On a 7 or 8 inch screen, the visual difference is minimal, but the temperature difference can be dramatic.
Shadow quality and volumetric effects are the biggest heat generators in most games. Set shadows to medium or low. Disable volumetric fog and ray tracing if available. These settings consume massive GPU resources for visual improvements that are hard to appreciate on a small screen.
Frame rate caps are another powerful tool. Capping your frame rate at 40 FPS instead of 60 FPS reduces power consumption significantly while still providing a smooth experience, especially if your display supports variable refresh rate (VRR). Many players find that 40 FPS with stable frame pacing feels better than 60 FPS with constant drops from throttling.
Close background applications before gaming. Windows services, browser tabs, and updaters all consume CPU cycles and generate heat. A clean gaming session uses less power and runs cooler.
Improve Airflow Around Your Device
Liquid cooling handles heat transfer inside the device. But all that heat must eventually leave the chassis through vents and the radiator. If airflow around your device is restricted, the entire cooling system becomes less effective.
Never play on soft surfaces like beds, couches, or pillows. These surfaces block intake vents on the bottom and sides of your handheld. Always use a hard, flat surface or hold the device with a clear gap around all vents.
Your grip style matters too. If your palms or fingers cover intake or exhaust vents during gameplay, you are reducing airflow. Pay attention to where your device’s vents are located and adjust your grip to keep them clear.
A small USB desk fan pointed at your device during extended sessions can help. This is a low cost solution that improves heat dissipation from the chassis surface and radiator. External cooling docks with built in fans offer an even better solution for docked gaming sessions at a desk.
Room temperature also plays a role. Gaming in a hot room means the cooling system has less temperature differential to work with. Air conditioning or a cooler environment gives your liquid cooling system more headroom to operate effectively.
Manage Your Liquid Cooling Dock Properly
If your gaming handheld uses an external liquid cooling dock, like the OneXPlayer Frost Bay, proper management of that dock is essential. These docks push coolant through the handheld via external tubes and use a larger radiator to dissipate heat. They can handle much higher TDP levels, but only if maintained correctly.
Keep the radiator clean and free of dust. Use compressed air every few weeks to blow out debris that accumulates in the radiator fins. A clogged radiator cannot release heat, which defeats the purpose of the entire liquid cooling system.
Check the tubing connections regularly. External docks have more connection points than internal cooling, which means more potential leak points. Ensure all fittings are snug and look for any signs of coolant seeping around joints.
Position the dock so its fans have clear access to fresh air. Do not place it in an enclosed space like a cabinet or against a wall. The radiator needs open air on at least two sides to function at full capacity.
Monitor coolant temperature if your dock’s software allows it. A rising coolant temperature over the course of a gaming session is normal, but it should plateau. If it continues climbing without leveling off, your radiator is not keeping up and you may need to clean it, add coolant, or improve the dock’s airflow.
Use Undervolting to Cut Heat at the Source
Undervolting is an advanced technique that reduces the voltage supplied to your processor while keeping its clock speed the same. Less voltage means less power consumed and less heat generated. It is one of the most effective ways to reduce temperatures without sacrificing any performance.
On Intel based handhelds like the MSI Claw series, tools like ThrottleStop allow precise voltage adjustments. On AMD based devices, community tools and manufacturer utilities offer similar functionality. Start with a small offset of around negative 30 to 50 millivolts and test for stability. If the device runs without crashes, you can push further.
A successful undervolt can lower temperatures by 5 to 10 degrees Celsius. This extra thermal headroom means your processor can maintain higher clock speeds for longer periods before hitting the throttling threshold.
Be aware of the risks. Too much undervolt causes system instability, crashes, and blue screens. Always test your undervolt with a stress test before starting a long gaming session. Save your stable undervolt profile so it loads automatically on startup. Some handhelds lose undervolt settings after a reboot, so check if your software has a persistent mode.
Update Firmware and Drivers Regularly
Manufacturers frequently release firmware updates that improve thermal management behavior. These updates can adjust fan curve logic, TDP limits, throttling thresholds, and power delivery algorithms. Missing these updates means your device runs with outdated thermal profiles that may not be optimized.
Check your manufacturer’s website or companion app for BIOS and firmware updates at least once a month. AYANEO, OneXPlayer, GPD, Lenovo, and ASUS all release regular updates for their gaming handhelds. These updates often include specific thermal fixes mentioned in the patch notes.
Graphics driver updates from AMD and Intel also affect thermal behavior. Newer drivers may include better power management for specific games, improved clock speed regulation, and more efficient GPU scheduling. All of these reduce heat output during gaming.
Windows updates matter too. Power plan changes, scheduler improvements, and background process optimizations in Windows can reduce overall system heat. Keep your operating system current. An outdated system is often a hotter system.
After every major update, test your device’s thermal behavior to see if your fan curves or TDP settings need adjustment. Updates can change default behaviors that override your custom settings.
Monitor Temperatures in Real Time
You cannot fix what you cannot measure. Real time temperature monitoring gives you the information needed to make smart adjustments. Without monitoring, you are guessing about whether your changes actually reduce throttling.
Tools like HWiNFO64 run in the background and log CPU temperature, GPU temperature, clock speeds, and power consumption. Overlay tools like RivaTuner Statistics Server display this data on screen during gameplay so you can see exactly when and why throttling occurs.
Watch for patterns. If your CPU hits 95 degrees after exactly 10 minutes of play, that tells you the cooling system saturates at that point. If the GPU throttles but the CPU stays cool, your problem might be a specific thermal pad rather than the whole cooling system.
Log your temperatures before and after every change you make. This lets you confirm whether replacing thermal paste, adjusting TDP, or changing fan curves actually improved your situation. Data driven troubleshooting is faster and more effective than trial and error.
Set up temperature alerts if your monitoring software supports them. An audible or visual warning when temperatures approach throttling limits lets you reduce game settings or take a break before performance drops.
Consider Adding Thermal Pads to Hot Components
Your processor is not the only heat source inside a gaming handheld. The SSD, VRAM modules, and voltage regulators all generate heat that contributes to the overall thermal load. Adding thermal pads to these secondary heat sources can lower chassis temperatures and give the main cooling system more headroom.
NVMe SSDs in gaming handhelds can reach 80 to 100 degrees under sustained read and write operations. A thin thermal pad connecting the SSD to the chassis shell or an internal heat spreader pulls that heat away from the board and distributes it across a larger surface area.
VRAM and VRM (voltage regulator module) temperatures often go unmonitored but contribute significantly to internal heat buildup. Small thermal pads placed on these components and connecting them to the chassis or nearby heatsinks can reduce overall internal temperatures by several degrees.
Use the correct thickness of thermal pad. Too thin and it will not make proper contact. Too thick and it can put pressure on delicate components or prevent the back panel from closing properly. Measure the gap with calipers before purchasing pads. Common thicknesses for handheld mods range from 0.5mm to 2mm.
Community forums for your specific device are excellent resources for finding which components benefit most from additional thermal padding and what thickness works best.
Create Per Game Performance Profiles
Not every game demands the same settings. Creating individual performance profiles for each game you play eliminates the one size fits all approach that causes unnecessary heat in lighter games and insufficient power in demanding ones.
Many handheld companion apps now support per game profiles. AYASpace, Armoury Crate, and Handheld Companion all let you assign specific TDP values, fan curves, resolution settings, and frame rate caps to individual games. When you launch a game, the system automatically applies its optimized profile.
For a light game like Hades, set a profile with 10W TDP, low fan speed, and a 60 FPS cap. For a heavy game like Cyberpunk 2077, use a 30W TDP profile with aggressive fans and a 40 FPS cap. This approach keeps your device cool during light games and maximizes performance during demanding ones.
The time spent creating profiles pays off immediately. You eliminate manual adjustments, reduce unnecessary heat generation, extend battery life in lighter games, and get the best possible experience in heavy games. It takes about five minutes per game to find the right settings through quick testing.
Know When to Seek Professional Help
Sometimes thermal throttling persists despite every fix you try. This can indicate a hardware level problem that software and basic maintenance cannot solve.
A failing pump in the liquid cooling loop will not circulate coolant properly. You might hear unusual noises, or the coolant lines may feel the same temperature on both the supply and return sides. A working pump produces a noticeable temperature difference between these lines because the coolant absorbs heat as it passes over the processor.
Cracked or degraded thermal interface materials inside a sealed cooling module are another problem that requires professional repair. If your device is still under warranty, contact the manufacturer before attempting any internal repairs. Opening the device may void your warranty.
If temperatures spike immediately upon starting any application, the cooling system may have a fundamental failure. This is different from gradual heat buildup over a gaming session. Immediate spikes suggest the cold plate is not making proper contact with the processor, the pump has stopped, or the coolant has leaked or evaporated.
Professional repair services familiar with gaming handhelds can diagnose and fix these issues. The cost of a professional repair is always less than replacing a handheld with a heat damaged processor.
Frequently Asked Questions
How often should I replace thermal paste on my liquid cooled gaming handheld?
Most high quality thermal pastes maintain effectiveness for one to two years under heavy use. If you notice temperatures gradually rising over several months despite clean vents and proper settings, it is likely time for a repaste. Phase change thermal pads can last even longer because they do not dry out the same way paste does.
Can I use any coolant in my handheld’s liquid cooling system?
No. Always use the coolant specified by your device’s manufacturer. Generic coolants may contain chemicals that corrode the tubing, cold plate, or fittings. Many handheld liquid cooling systems use a premixed, noncorrosive coolant designed for the specific materials in the loop.
Does lowering TDP actually hurt gaming performance?
It depends on the game. Many titles run perfectly well at lower TDP settings because they do not fully utilize the processor’s maximum capabilities. A 25W TDP often delivers 90% of the performance you get at 35W but produces significantly less heat. The key is testing each game to find the lowest TDP that still delivers smooth gameplay.
Is it normal for a liquid cooled handheld to feel warm during gaming?
Yes. Warmth on the chassis surface means heat is transferring away from internal components, which is exactly what the cooling system should do. The concern is when the device becomes uncomfortably hot to hold or when you see performance drops. Surface warmth without throttling is a sign that your cooling system is working correctly.
Will adding an external fan really make a noticeable difference?
External fans provide a measurable improvement, especially during long gaming sessions. A USB desk fan or a clip on cooler can lower surface temperatures by 3 to 8 degrees Celsius. This may not sound dramatic, but those few degrees can be the difference between staying just below the throttling threshold and crossing it.
How do I know if my liquid cooling pump is working?
Place your hand on the coolant tubing during operation. You should feel slight vibration or warmth in the supply line and warmth in the return line. If both lines feel identical in temperature, the pump may not be circulating coolant. Some devices also report pump speed in their monitoring software. A pump reading of zero RPM confirms a failure.
Hi, I’m Lily — a tech enthusiast and the voice behind SmartResizerr.com. I love testing gadgets, breaking down specs into plain English, and helping everyday people find the right tech without the overwhelm.