How To Resolve PS5 Pro Liquid Metal Cooling Leak Symptoms?
Your PS5 Pro runs on a sophisticated liquid metal cooling system. When that system starts to fail, the signs can be confusing and easy to misread.
Overheating shutdowns, strange performance drops, and unusual fan behavior are all symptoms that something is wrong. Many players assume the fix is as simple as changing the console’s orientation or cleaning out some dust. Unfortunately, that is rarely the full answer.
Liquid metal displacement is a hardware defect. It requires proper diagnosis and real repair steps, not just a quick tilt of the console.
This guide walks you through exactly what liquid metal cooling is and why it matters for your PS5 Pro. You will learn how to identify the warning signs early, understand what causes displacement, and know which steps actually fix the problem.
By the end, you will have a clear picture of what your console needs and how to move forward the right way.
In a Nutshell
Liquid metal cooling leaks are a confirmed hardware defect in some PS5 Pro units, not a user error.
Common symptoms include overheating shutdowns, unusual fan noise, and sudden performance drops during gameplay.
Simply changing your console’s orientation to horizontal does not fix the underlying problem and is a frequent mistake many owners make.
Cleaning dust from vents and fans helps with airflow but will not resolve a liquid metal displacement issue on its own.
Fixing this issue properly requires deep disassembly, cleaning the affected area, and redistributing or replacing the liquid metal compound.
If your unit shows these symptoms, the safest path forward is professional repair or a manufacturer replacement, since this is a defective hardware situation.
What Is the PS5 Pro Liquid Metal Cooling System and How Does It Work?
Your PS5 Pro uses a liquid metal compound instead of traditional thermal paste. This special cooling solution sits between the console’s processor and its heatsink. Liquid metal transfers heat much faster than standard paste, which keeps your system running cooler during intense gaming sessions.
Here is how the system works in practice. The liquid metal makes direct contact with the hot chip. Heat flows through the metal into the heatsink. Fans then push air across the heatsink fins to release that heat into the room. This whole process happens continuously while your console runs.
The liquid metal stays in place through a sealed metal frame. This frame holds the compound exactly where it needs to be. When everything works correctly, your PS5 Pro stays at safe temperatures even during demanding games.
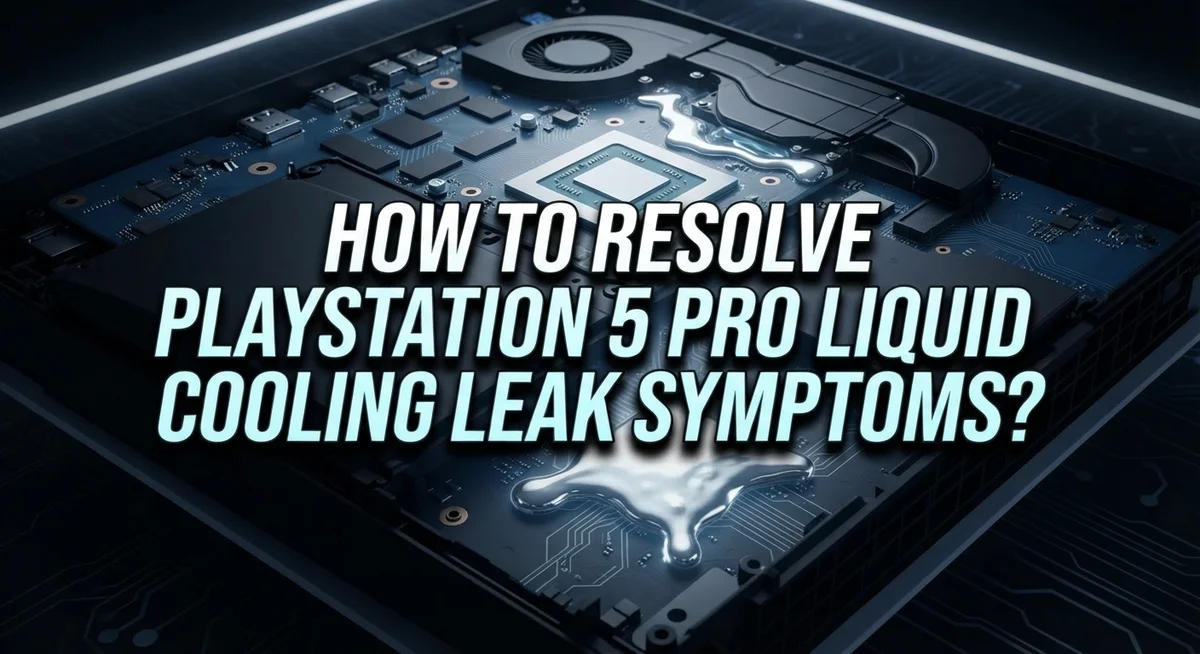
The problem starts when the liquid metal moves out of position. This displacement breaks the connection between the chip and heatsink. Heat cannot escape properly anymore. Your console then overheats and shuts down to protect itself.
Why does displacement happen? The liquid metal can shift if the frame becomes loose or if manufacturing defects exist. Vertical orientation can trigger this movement, but it does not cause the defect itself. A properly sealed system stays secure in any position.
This is not a design flaw you can fix at home. The liquid metal compound requires professional redistribution or replacement. Cleaning your vents helps airflow, but it will not solve a displacement issue. Your console needs actual repair work from someone trained to handle the internal components safely and correctly.
How To Identify Liquid Metal Cooling Leak Symptoms on Your PS5 Pro
Your PS5 Pro will show clear warning signs when the liquid metal cooling system has problems. Learning to spot these symptoms early helps you take action before your console suffers permanent damage.
Temperature warnings appear first. Your console will shut down automatically during gameplay, even when you’re playing less demanding games. The system cuts power to protect itself from overheating. You might notice this happens suddenly, without any pattern related to specific games.
Unusual fan noise is another key indicator. The cooling fans work much harder when liquid metal shifts out of position. You’ll hear loud whirring or grinding sounds that sound different from normal operation. The noise often gets worse the longer you play.
Performance drops happen frequently with liquid metal issues. Your games will stutter, freeze, or lag even on titles that normally run smoothly. Frame rates become inconsistent. Loading times stretch longer than usual. These problems worsen as your console heats up during extended play sessions.
Visual glitches sometimes accompany cooling problems. You might see screen flickering, texture pop in, or sudden resolution drops. These occur because the processor throttles itself to reduce heat output.
Condensation or wet spots inside the console are serious signs. If you open your PS5 Pro and see moisture around the cooling system, liquid metal displacement has likely occurred. Do not ignore this symptom.
Pay attention to when symptoms appear. If your console only overheats in vertical position but works fine horizontally, this suggests a defect. Healthy systems maintain proper cooling regardless of orientation.
Track these symptoms carefully. Document when they happen and what you were doing. This information helps technicians diagnose the exact problem with your cooling system.
Why Liquid Metal Displacement Happens and What Triggers It
Liquid metal displacement happens when the cooling compound moves out of its sealed metal frame. This occurs due to manufacturing defects, loose frame components, or internal structural issues. The movement is not caused by normal console use or your gaming habits.
Vertical orientation can trigger displacement, but it doesn’t cause the problem. Think of it this way: if your console only leaks when standing upright, the underlying defect already exists. The vertical position simply exposes what was already wrong with the unit. Horizontal placement may temporarily reduce symptoms, but this masks the real issue rather than fixing it.
Temperature cycling plays a role in displacement. Your PS5 Pro heats up during gameplay and cools down during rest periods. Repeated heating and cooling can gradually shift the liquid metal if the frame isn’t properly sealed. This is why symptoms often worsen over time.
Manufacturing inconsistencies create weak points in some units. The frame that holds the liquid metal in place may not be perfectly sealed during production. A loose seal allows the compound to move gradually toward the edges of the cooling system.
Dust accumulation doesn’t directly cause displacement, but it worsens the situation. When dust blocks your console’s vents and fans, the system runs hotter. Higher temperatures increase the chances that existing defects will cause visible leaks or performance problems.
The key point: liquid metal displacement indicates a hardware defect, not a user error. Your console orientation, room temperature, or cleaning habits don’t create this problem. Professional repair or replacement is the only real solution because the internal frame structure needs fixing or the compound needs proper redistribution by trained technicians.
Step-by-Step Guide To Diagnosing the Severity of the Issue
Diagnosing the severity of a liquid metal cooling leak requires a systematic approach. Start by observing when symptoms appear. Do they happen during intense gaming, or do they occur even during light use? Frequent symptoms suggest a more serious issue.
Check your console’s temperature readings. Most PS5 Pro systems display thermal data in settings or through system monitoring. Compare your readings to normal operating temperatures. Readings consistently above 80 degrees Celsius during standard play indicate a significant problem.
Listen carefully to fan behavior. A healthy console produces steady background noise. Loud grinding, rattling, or high pitched whining suggests the cooling system is struggling. The louder and more frequent the noise, the worse the displacement likely is.
Examine performance during gameplay. Minor stuttering occasionally happens. Persistent frame drops, sudden shutdowns, or frequent lag during normal tasks point to severe cooling failure. Your console may even restart unexpectedly if the issue is critical.
Look for physical signs inside the console. If you can safely open the device, check for wet spots, discoloration, or dried liquid metal residue around the cooling frame. These indicate active or recent displacement. Dust accumulation alone doesn’t mean severe damage, but combined with other symptoms, it worsens the situation.
Document your symptoms for at least one week. Note the time, activity, and severity of each occurrence. This information helps determine if the problem is worsening or stable.
Severity levels work like this: Minor issues show occasional fan noise and slight temperature increases. Moderate problems cause regular performance drops and consistent high temperatures. Severe cases involve frequent shutdowns, extreme temperatures, and visible liquid metal displacement. Once you understand your severity level, you can decide whether professional repair is necessary.
How To Safely Clean and Redistribute Liquid Metal Compound
Safely cleaning and redistributing liquid metal compound requires careful preparation and precise steps. This process removes your PS5 Pro’s cooling system, so patience matters.
Start by powering down completely and unplugging your console. Wait at least 30 minutes for the system to cool. This prevents burns and protects internal components from thermal shock.
Gather soft microfiber cloths, isopropyl alcohol, and compressed air. These tools help you clean without damaging delicate parts. Avoid paper towels since they leave fibers behind.
Remove the console’s outer casing by following the manufacturer’s guide. Take photos during disassembly so reassembly becomes easier. Work slowly and document each step.
Locate the liquid metal compound on the cooling frame. Use a soft cloth slightly dampened with isopropyl alcohol to gently wipe away displaced liquid metal. Work in circular motions with minimal pressure.
Clean the metal surface thoroughly until no residue remains. Inspect the frame for cracks or damage. Any defects mean the unit needs professional service instead.
Once clean, apply fresh liquid metal compound in a thin, even layer. Most compounds work best with a small amount spread across the entire contact surface. Too much causes leaks. Too little reduces cooling efficiency.
Before reassembling, use compressed air to clear dust from fans and vents. Hold the fan still while cleaning to prevent accidental spinning. Dust blocks airflow and reduces cooling performance.
Reassemble your console carefully, reversing your disassembly steps. Power on and monitor temperatures during initial startup. If problems persist after proper redistribution, your unit likely needs replacement through official channels.
How To Clear Dust and Debris From Vents and Fans
Dust and debris inside your PS5 Pro vents and fans block airflow. This blockage makes your cooling system work harder, which worsens liquid metal issues. Cleaning these areas is an essential step in addressing cooling problems.
Start by powering down your console completely. Unplug it from the power source and wait at least 30 minutes for all components to cool down. This prevents accidental damage during cleaning.
Locate the intake and exhaust vents on your console. The intake vents pull cool air in, while exhaust vents release hot air. Both need attention because dust accumulates on both sides. You’ll find vents on the sides and rear of your PS5 Pro.
Use compressed air to blow out debris from these vents. Hold the can upright and use short bursts. Direct the air flow perpendicular to the vent openings. This pushes dust out rather than deeper into the system. Work slowly and methodically across each vent.
For the fan blades themselves, you need careful access. After removing the outer casing following your manufacturer’s guide, you can see the fans directly. Use compressed air with gentle, controlled bursts to dislodge dust from the fan blades. Never touch the blades directly or spin them by hand.
Pay special attention to areas where dust tends to collect most. These spots include corners where vents meet the chassis and around fan motor housings. Compressed air works better than cloths for fans because it reaches tight spaces.
After cleaning, wait several minutes before reassembling. This ensures all dust has settled and dispersed. Proper ventilation cleaning improves airflow significantly, but remember this alone doesn’t fix liquid metal displacement issues. You’ll still need liquid metal redistribution or professional repair for complete resolution.
When To Seek Professional Repair or Warranty Replacement
Your PS5 Pro shows liquid metal cooling problems. You’ve cleaned the console and redistributed the compound. Performance still hasn’t improved. Now you need professional help.
Recognize when DIY fixes stop working. If your console still overheats after cleaning and redistribution, the hardware itself is defective. Temperature readings above normal range mean internal damage exists. Fan noise that continues despite your efforts signals deeper issues.
Document everything before contacting support. Record your console’s serial number and purchase date. Take photos or videos showing the problem. Write down exact temperatures and when overheating occurs. Note how long you’ve experienced these symptoms. This information proves the issue exists and isn’t user error.
Warranty coverage depends on your situation. Most PS5 Pro units include a standard one year warranty covering manufacturing defects. Liquid metal cooling failures fall under this protection. Your console qualifies for warranty service if purchased within the coverage period. Contact your retailer or the manufacturer’s support team with your documentation.
Professional repair involves complete system replacement or deep component service. Technicians will disassemble your console fully. They’ll inspect the liquid metal application and cooling frame integrity. They may replace the entire cooling assembly or the console itself. This process takes several weeks typically.
Request a replacement unit if available. New consoles come with fresh cooling systems and full warranty coverage. Repairs sometimes reuse existing components, which may develop problems again.
Don’t attempt further DIY work once you’ve tried cleaning and redistribution. Additional attempts risk voiding your warranty. Professional technicians have proper equipment and replacement parts. They can identify exactly what’s wrong inside your console. Contact support today to start the warranty claim process.
Common Mistakes To Avoid When Dealing With Liquid Metal Issues
Many people make critical errors when their PS5 Pro shows liquid metal cooling problems. Understanding these mistakes helps you avoid making your situation worse.
The biggest mistake is assuming horizontal positioning fixes the issue permanently. Some owners place their console flat and see temporary improvement. This creates false confidence that positioning alone solves the problem. The truth is simple: positioning may temporarily reduce symptoms, but it doesn’t address the underlying defect. Your console still has a hardware problem that requires actual repair.
Another common error is relying on cleaning alone without redistributing the liquid metal compound. Dust removal helps airflow, but it won’t fix displaced or leaked cooling liquid. You must physically reapply and redistribute the compound on the cooling frame. Cleaning is just one part of the solution, not the complete fix.
Many owners also ignore early warning signs until overheating becomes severe. Occasional fan noise and slight temperature increases are red flags. Addressing these symptoms early prevents complete system failure. Waiting makes the problem worse and may damage other components.
A critical mistake is attempting multiple DIY fixes without professional guidance. Each time you open your console, you risk voiding your warranty. If your initial cleaning and redistribution attempt fails, stop there. Professional technicians have specialized tools and replacement parts you don’t have access to.
Finally, owners often skip documentation before contacting support. Take photos of thermal paste residue, damaged areas, and your console’s serial number. This documentation proves your unit is defective and strengthens your warranty claim. Without evidence, support may deny your replacement request.
Avoid these mistakes by recognizing when professional help is necessary and seeking it promptly.
Final Thoughts
PS5 Pro liquid metal cooling issues are serious hardware defects, not simple maintenance problems you can ignore or work around permanently.
Orientation changes and basic cleaning are not permanent solutions. They may reduce symptoms temporarily, but they do not fix the underlying defect causing the displacement.
The core takeaway is straightforward. If your console shows signs of liquid metal leakage or displacement, it needs professional attention. DIY fixes have limits, and knowing those limits protects your hardware.
Early action matters significantly. Catching symptoms like unexpected shutdowns, unusual heat, or performance drops early gives you better repair and warranty options. Waiting too long can lead to permanent component damage.
Document every symptom you notice. Keep records of error messages, shutdown frequency, and any steps you have already tried. This information helps support teams assess your situation faster.
Cleaning your vents and fans regularly is still valuable. Good airflow habits prevent additional stress on a system that may already be struggling. But cleaning alone cannot fix a liquid metal redistribution problem.
Redistribution requires deep disassembly and careful handling. If you are not confident doing this yourself, professional repair is the safer path. Each unnecessary opening of the console increases the risk of further damage.
Warranty coverage is your strongest asset in this situation. Use it before it expires, and contact Sony support as soon as symptoms appear consistently.
Liquid metal cooling technology is effective when working correctly. When it fails, the fix must match the severity of the defect. Treat this as a hardware issue requiring real service, and your console has the best chance of a full recovery.
Frequently Asked Questions
What are the first signs my PS5 Pro has a liquid metal cooling problem?
Watch for sudden shutdowns during gameplay. Your console may overheat and power off without warning. You might also notice unusual fan noise that sounds louder than normal. Temperature warnings appear on screen before the system shuts down.
Some users report the console feeling extremely hot to the touch near the vents. Performance drops happen too. Games may stutter or lag even at lower settings. If you see these signs, stop playing immediately and let the system cool down.
Can I fix this problem by placing my PS5 Pro horizontally instead of vertically?
Horizontal placement may temporarily reduce symptoms, but it does not fix the underlying defect. Placing your console flat might help for a short time, but the problem will return. This is a hardware issue, not a positioning issue.
Some owners report temporary relief by changing orientation. However, this is a band aid solution. The liquid metal inside is still displaced or leaking. Your console needs actual repair or replacement to work properly again.
Is basic cleaning enough to solve liquid metal cooling issues?
No. Cleaning your vents and fans helps with airflow, but it cannot fix liquid metal displacement. You must redistribute or replace the liquid metal compound itself. This requires opening the console completely and working with internal components carefully.
Regular cleaning prevents dust buildup and supports cooling performance. However, cleaning alone will not stop overheating if the liquid metal has moved or leaked. Professional service is necessary for permanent results.
Should I attempt to fix this myself or contact support?
If you feel confident with electronics, you can try cleaning and redistributing the liquid metal yourself. Open your console, clean the cooling system thoroughly, and reapply the compound evenly. Document each step with photos.
However, if symptoms persist after redistribution, contact support immediately. Professional technicians have the right tools and experience. They can replace defective components or send you a replacement unit. Attempting multiple DIY fixes risks voiding your warranty.

Hi, I’m Lily — a tech enthusiast and the voice behind SmartResizerr.com. I love testing gadgets, breaking down specs into plain English, and helping everyday people find the right tech without the overwhelm.