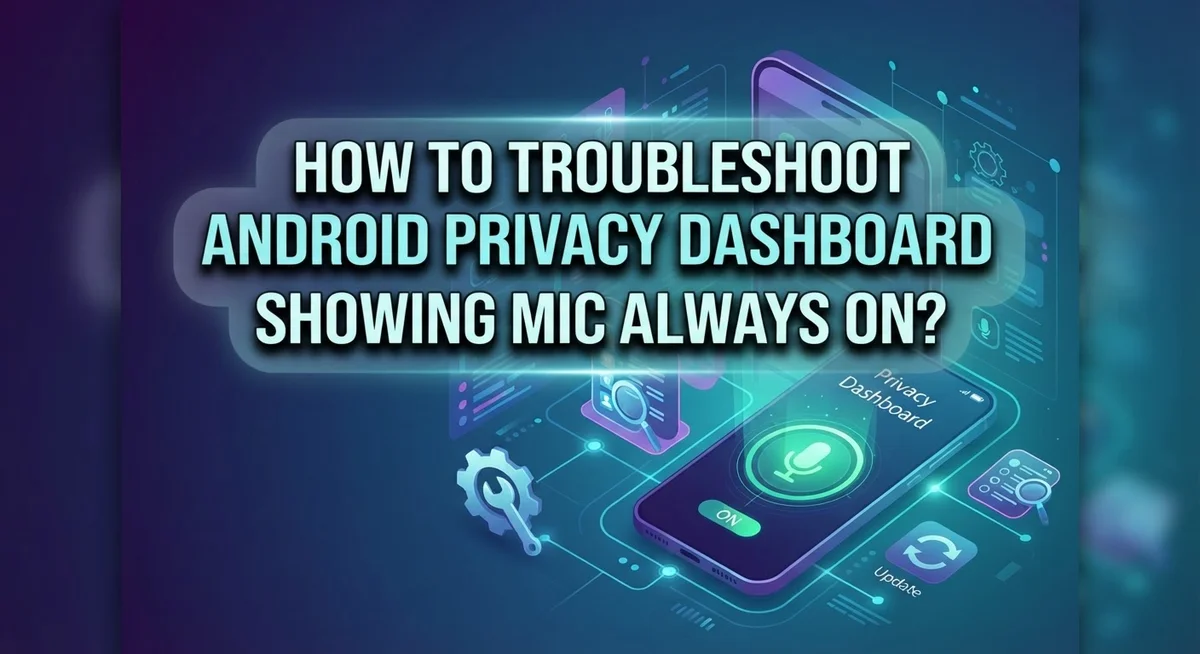
How To Troubleshoot Android Privacy Dashboard Showing Mic Always On?
Have you noticed a persistent microphone icon on your Android status bar? It can feel alarming, especially when no app seems to be actively recording.
The Android Privacy Dashboard is a powerful tool. It tracks which apps access your microphone, camera, and location. But sometimes, it shows the mic as always active, leaving you confused and concerned.
This is more common than you think. Many apps hold microphone permissions in the background without your knowledge. Some services trigger the indicator even when you are not using them directly.
The good news is that you can take control. Android gives you clear tools to identify and manage these permissions. You just need to know where to look.
In this guide, you will learn exactly how to troubleshoot the Android Privacy Dashboard when it shows your mic as always on. We will walk through how to identify the responsible app, how to review your permission settings, and how to stop unnecessary mic access for good.
Let’s get your privacy back on track.
In a Nutshell
- The green microphone icon in your status bar means an app is actively using your mic right now.
- You can tap the privacy indicator in the notification panel to instantly see which app is responsible.
- Go to Settings > Privacy & Security > Permission Manager > Microphone to review and manage all app mic permissions.
- Revoking mic access from apps that do not need it is the fastest way to stop the “always on” issue.
- Regularly auditing your app permissions helps prevent this problem from coming back.
- The Privacy Dashboard indicators are accurate and reliable — they reflect real, active permission usage on your device.
What the Android Privacy Dashboard Mic Indicator Actually Means
The Android Privacy Dashboard mic indicator serves a specific purpose. It shows you when an app is actively accessing your microphone at that exact moment. This is not a warning or an error. It is simply your device telling you what is happening right now.
When you see the green microphone icon, it means one or more apps have permission to use your mic and are currently using it. This could be a voice call, a recording app, a voice assistant, or even a background service. The indicator appears in your status bar and on the lock screen so you always know when mic access is active.
The key thing to understand is the difference between permission and active use. An app can have microphone permission without using it. But when the indicator appears, that app is actually accessing your mic in real time.
Tapping the privacy indicator once shows you which specific app is responsible. This is your first step in troubleshooting. You will see the app name and the exact time it started using the mic.
Some apps need mic access legitimately. Voice calls, video chats, and voice recording apps require this. Other apps might have mic permission but rarely use it. The indicator helps you spot unexpected usage patterns.
Understanding this indicator is crucial because it prevents you from panicking. A persistent indicator does not mean your device is hacked. It means an app is actively using your microphone. Once you identify which app, you can decide if that usage makes sense. If it does not, you can revoke the permission or uninstall the app entirely.
How To Read the Green Microphone Icon in Your Status Bar
The green microphone icon in your status bar tells you something important. It signals that an app is actively accessing your microphone right now. This icon appears in real time whenever any app uses mic permission.
Understanding what this icon means helps you take control of your privacy. The icon does not mean your device is broken or hacked. It simply shows active mic usage happening at that exact moment.
Tap the icon once to see which app is using your mic. A menu will pop up showing you the specific app responsible. You might see Google Assistant, a voice call app, or a recording application. The dashboard displays this information clearly so you know exactly what is happening.
The green color specifically indicates active use. It is different from a red icon, which some devices use for camera access. Pay attention to when this icon appears and disappears throughout your day.
Some apps legitimately need microphone access. Phone apps, voice recorders, and video chat applications require this permission to function. The privacy indicator simply makes this usage visible to you.
If the icon stays on when no app should be using your mic, that is when you need to investigate. Swipe down your notification panel and tap the indicator. This reveals exactly which app is the culprit.
The indicator updates in real time. When an app stops using your mic, the icon disappears within seconds. This accuracy means you can trust what you see in your status bar.
Checking this icon regularly gives you peace of mind about your microphone access.
How To Identify Which App Is Keeping Your Mic Active
Finding which app keeps your mic active takes just a few taps. Start by swiping down your notification panel to reveal the privacy indicator. You’ll see a green microphone icon if an app is currently using your mic.
Tap the privacy indicator once. A popup menu appears showing you the exact app responsible for the mic access. This is your most direct answer. Write down the app name so you can investigate further.
Next, open your Settings app. Look for Privacy & Security or Permission Manager depending on your device. Tap on Microphone to see the complete list of apps with mic permission.
Review each app carefully. Ask yourself if it truly needs microphone access. Voice calling apps obviously need it. Video chat applications require it too. But a flashlight app or a weather app should never use your mic.
Check the permission status for each app. Some devices show “Allow all the time,” “Allow only while using the app,” or “Don’t allow.” Apps set to “Allow all the time” are more likely culprits.
If you find an app with suspicious permissions, tap it to change the setting. Select “Allow only while using the app” instead of constant access. This limits when the app can activate your mic.
Some system services might also show up in this list. Google Assistant or voice input services sometimes appear here. These usually need mic access to function properly.
Document which apps you found with mic permissions. This helps you identify patterns. You can now disable access for apps that don’t legitimately need it. Your investigation reveals exactly what’s keeping your mic active.
Step-by-Step: Reviewing and Revoking Microphone Permissions
Revoking microphone permissions protects your privacy. Start by opening your Settings app on your Android device. Look for the Privacy & Security option or Permission Manager, depending on your Android version.
Once you’re in the permissions section, find and tap Microphone. Your device displays a complete list of all apps that have requested mic access. Review this list carefully to identify apps that don’t need microphone functionality.
Check each app’s permission status. You’ll see options like “Allow all the time,” “Allow only while using the app,” or “Don’t allow.” Apps should only have mic access when necessary. For example, a calculator app doesn’t need your microphone.
Tap any app you want to restrict. Select “Don’t allow” to revoke its microphone permission completely. This stops the app from accessing your mic entirely. Some apps may stop working correctly if you deny mic access, but this is intentional.
Pay special attention to system services and background apps. These sometimes have mic permissions enabled by default. You can disable mic access for most of these services without affecting core phone functions.
Take time to audit your permissions regularly. New apps you install may request mic access. Review these requests before granting permission. Many apps ask for microphone access even when they don’t truly need it.
After revoking permissions, monitor your privacy dashboard. The green microphone icon should appear less frequently. If the icon still shows constantly, repeat these steps and check for any remaining apps with active mic permissions.
Remember, you control your device’s privacy settings. Revoking unnecessary permissions takes just minutes but significantly improves your privacy protection.
How To Use Quick Settings To Instantly Disable Microphone Access
Quick Settings gives you the fastest way to control your microphone. This method takes seconds and requires no deep menu diving.
Start by swiping down from the top of your screen twice. The first swipe shows your notification panel. The second swipe reveals your full Quick Settings menu. Look for the microphone icon or privacy controls section.
You’ll see a microphone toggle switch. This button lets you disable mic access instantly across your entire device. Tap it once to turn off microphone permissions. Your status bar will update to show the mic is now disabled.
This quick toggle works differently than app specific permissions. It affects system level access rather than individual app settings. When you disable it here, apps cannot use your microphone until you turn it back on.
Some Android devices also show a dedicated privacy section in Quick Settings. This area displays active camera and microphone usage in real time. Tap this section to see which app currently uses your mic.
Important note: Disabling your microphone in Quick Settings may prevent legitimate apps from working. Phone calls, voice assistants, and video meetings will not function properly. Re enable the toggle when you need these features.
Check your Quick Settings regularly. This habit helps you spot when your mic suddenly activates. If the microphone toggle is already off but your privacy dashboard still shows activity, an app may have cached permissions.
Return to Quick Settings and toggle your microphone off and back on. This refresh action often resolves false positive indicators. Your privacy dashboard should update within seconds to reflect the change.
Common Reasons the Mic Appears Always On and How To Fix Each One
Your microphone showing as always on usually means an app has active permission to use it. Let’s look at the main reasons this happens and how to fix each one.
Background apps with permission are the most common culprit. Apps like voice assistants, messaging services, or social media platforms often request mic access. Even when you’re not actively using them, they retain permission. Check your privacy dashboard by swiping down twice from the top of your screen. Tap the green mic indicator to see which app is responsible.
System services sometimes trigger the indicator too. Google Assistant, voice typing, or accessibility features might activate your mic in the background. These services are built into Android and run automatically. Open Settings and go to Privacy & Security, then select Microphone to review system services in your permissions list.
Recently installed apps could be the problem. New applications often request mic access during setup. You might have approved permissions without realizing it. Check your recently installed apps and revoke microphone access for any you don’t need.
Stuck permissions occasionally occur after app updates. An app might retain old permission settings even after you’ve updated it. Clearing the app’s cache can help reset these permissions.
Accessibility features like voice control or hearing aid compatibility need microphone access. If you’ve enabled these features, the indicator will show active mic use.
To fix any of these issues, go to Settings, select Permission Manager or Privacy & Security, then tap Microphone. Review each app listed and disable access for those that don’t need it. This simple audit stops most “always on” issues immediately.
Mistakes To Avoid When Managing Microphone Permissions on Android
Many people make simple mistakes when managing microphone permissions on Android. These errors can leave your device vulnerable or cause frustrating privacy indicator problems.
Ignoring the privacy indicator is the first major mistake. When you see that green mic icon, don’t just dismiss it. Tap it once to see which app is using your microphone. Many users assume it’s normal and never investigate further. This habit means you might miss unauthorized access happening in the background.
Granting permissions too broadly is another common error. When an app requests microphone access, some people automatically tap “Allow all the time” without thinking. Ask yourself: does this app really need constant mic access? A flashlight app should never need your microphone. Be selective about which apps get permanent permission.
Forgetting to review permissions periodically creates security gaps over time. You might install an app, grant permissions, then forget about it months later. Set a reminder to check your Permission Manager every few weeks. Apps can behave differently after updates, so regular audits matter.
Not checking system services and background apps leaves hidden drains on your privacy. Some system processes need mic access for legitimate reasons like voice assistants or hearing aid features. However, you should still know which ones are active.
Disabling the mic globally without understanding the impact causes problems too. If you turn off your microphone in Quick Settings, many legitimate apps stop working. Instead, manage permissions per app through your Permission Manager.
The key is staying aware and intentional. Take time to understand which apps truly need microphone access. Review your settings regularly. This simple habit prevents most mic permission problems.
How To Regularly Audit App Permissions To Prevent Future Issues
Regularly auditing app permissions keeps your Android device secure and private. You should check your microphone permissions at least once a month to catch any unwanted access early.
Start by opening your Settings app. Navigate to Permission Manager or Privacy & Security, depending on your Android version. Tap on Microphone to see the full list of apps with access.
Review each app carefully. Ask yourself: Does this app actually need my microphone? A music streaming service might need it for voice commands. A photo editing app probably does not. Remove microphone access from any app that doesn’t require it.
Pay special attention to apps you installed recently. New applications sometimes request permissions you didn’t notice during setup. Check what they’re actually using before leaving permissions enabled.
Look for apps with “Allow only while using the app” versus “Allow all the time” permissions. Apps with constant access deserve extra scrutiny. If an app needs your microphone only during calls or recording, change it to the limited option.
Set a recurring reminder on your calendar. Monthly audits take just five minutes but prevent serious privacy problems. You’ll catch suspicious apps before they cause issues.
Check system services too. Some accessibility features and voice assistants need microphone access to function. Disable these if you don’t use them.
After removing unnecessary permissions, watch your privacy indicator for the next few days. If the microphone icon still appears, you’ve identified which app needs attention. This systematic approach stops problems before they start and keeps your device working exactly how you want it.
Final Thoughts
Your Android Privacy Dashboard is a powerful tool. It gives you real visibility into which apps access your microphone and when.
The green indicator in your status bar is not something to ignore. It reflects actual app permissions in use, so treat it as a reliable signal worth investigating every time.
The core process is straightforward. Tap the indicator to identify the app, go to Settings, open Permission Manager, select Microphone, and adjust access as needed. That simple routine solves most issues quickly.
Persistent “always on” behavior almost always traces back to an app with active background permission. Once you identify and restrict that app, the indicator should stop appearing unnecessarily.
Staying consistent matters more than any single fix. A one-time audit helps, but regular permission reviews keep your privacy protected long term. Make it a habit, not a reaction.
Remember that some apps genuinely need microphone access to function. Voice assistants, navigation apps, and communication tools are good examples. The goal is intentional permission management, not blanket restriction.
Quick settings also give you an instant toggle to cut microphone access entirely when you need a fast solution. Use it as a temporary measure while you investigate the deeper cause.
Avoid granting broad permissions without thinking it through. Many apps request microphone access during setup, and it is easy to tap “Allow” without considering whether it is truly necessary.
Your privacy is worth a few minutes of attention each month. The Android Privacy Dashboard gives you all the information you need. Use it actively, stay informed, and your device will stay secure.
Frequently Asked Questions
Why does my microphone show as always on in the Privacy Dashboard?
Your microphone appears active because an app holds microphone permission and may be using it in the background. Swipe down your notification panel and tap the green privacy indicator. This shows you exactly which app is accessing your mic right now. Some apps request “always on” access even when you’re not actively using them.
How do I identify which app is using my microphone?
Tap the green microphone icon in your status bar. Android displays the app name immediately. If multiple apps appear, check which one you recently opened or installed. System services like Google Assistant or your voice input keyboard may also show up here. Write down the app name so you can manage its permissions next.
Can I turn off microphone access for specific apps?
Yes. Go to Settings and find Privacy & Security or Permission Manager. Tap Microphone and you’ll see a list of all apps with mic access. Change each app’s permission to “Don’t allow” or “Allow only while using the app.” This gives you control over which apps can access your microphone at any time.
Should I disable microphone access globally?
Disabling your mic entirely through quick settings stops all apps from using it. This works as a temporary fix if you’re concerned about privacy. However, voice calls and voice commands won’t work. A better approach is disabling access for individual apps instead of blocking everything.
Why does the indicator stay on even after I deny permissions?
The app may have system-level access or background activity running. Check if the app appears in your recent apps list. Restart your phone to clear temporary processes. If it persists, uninstall the app and reinstall it, then grant only the permissions it truly needs.

Hi, I’m Lily — a tech enthusiast and the voice behind SmartResizerr.com. I love testing gadgets, breaking down specs into plain English, and helping everyday people find the right tech without the overwhelm.