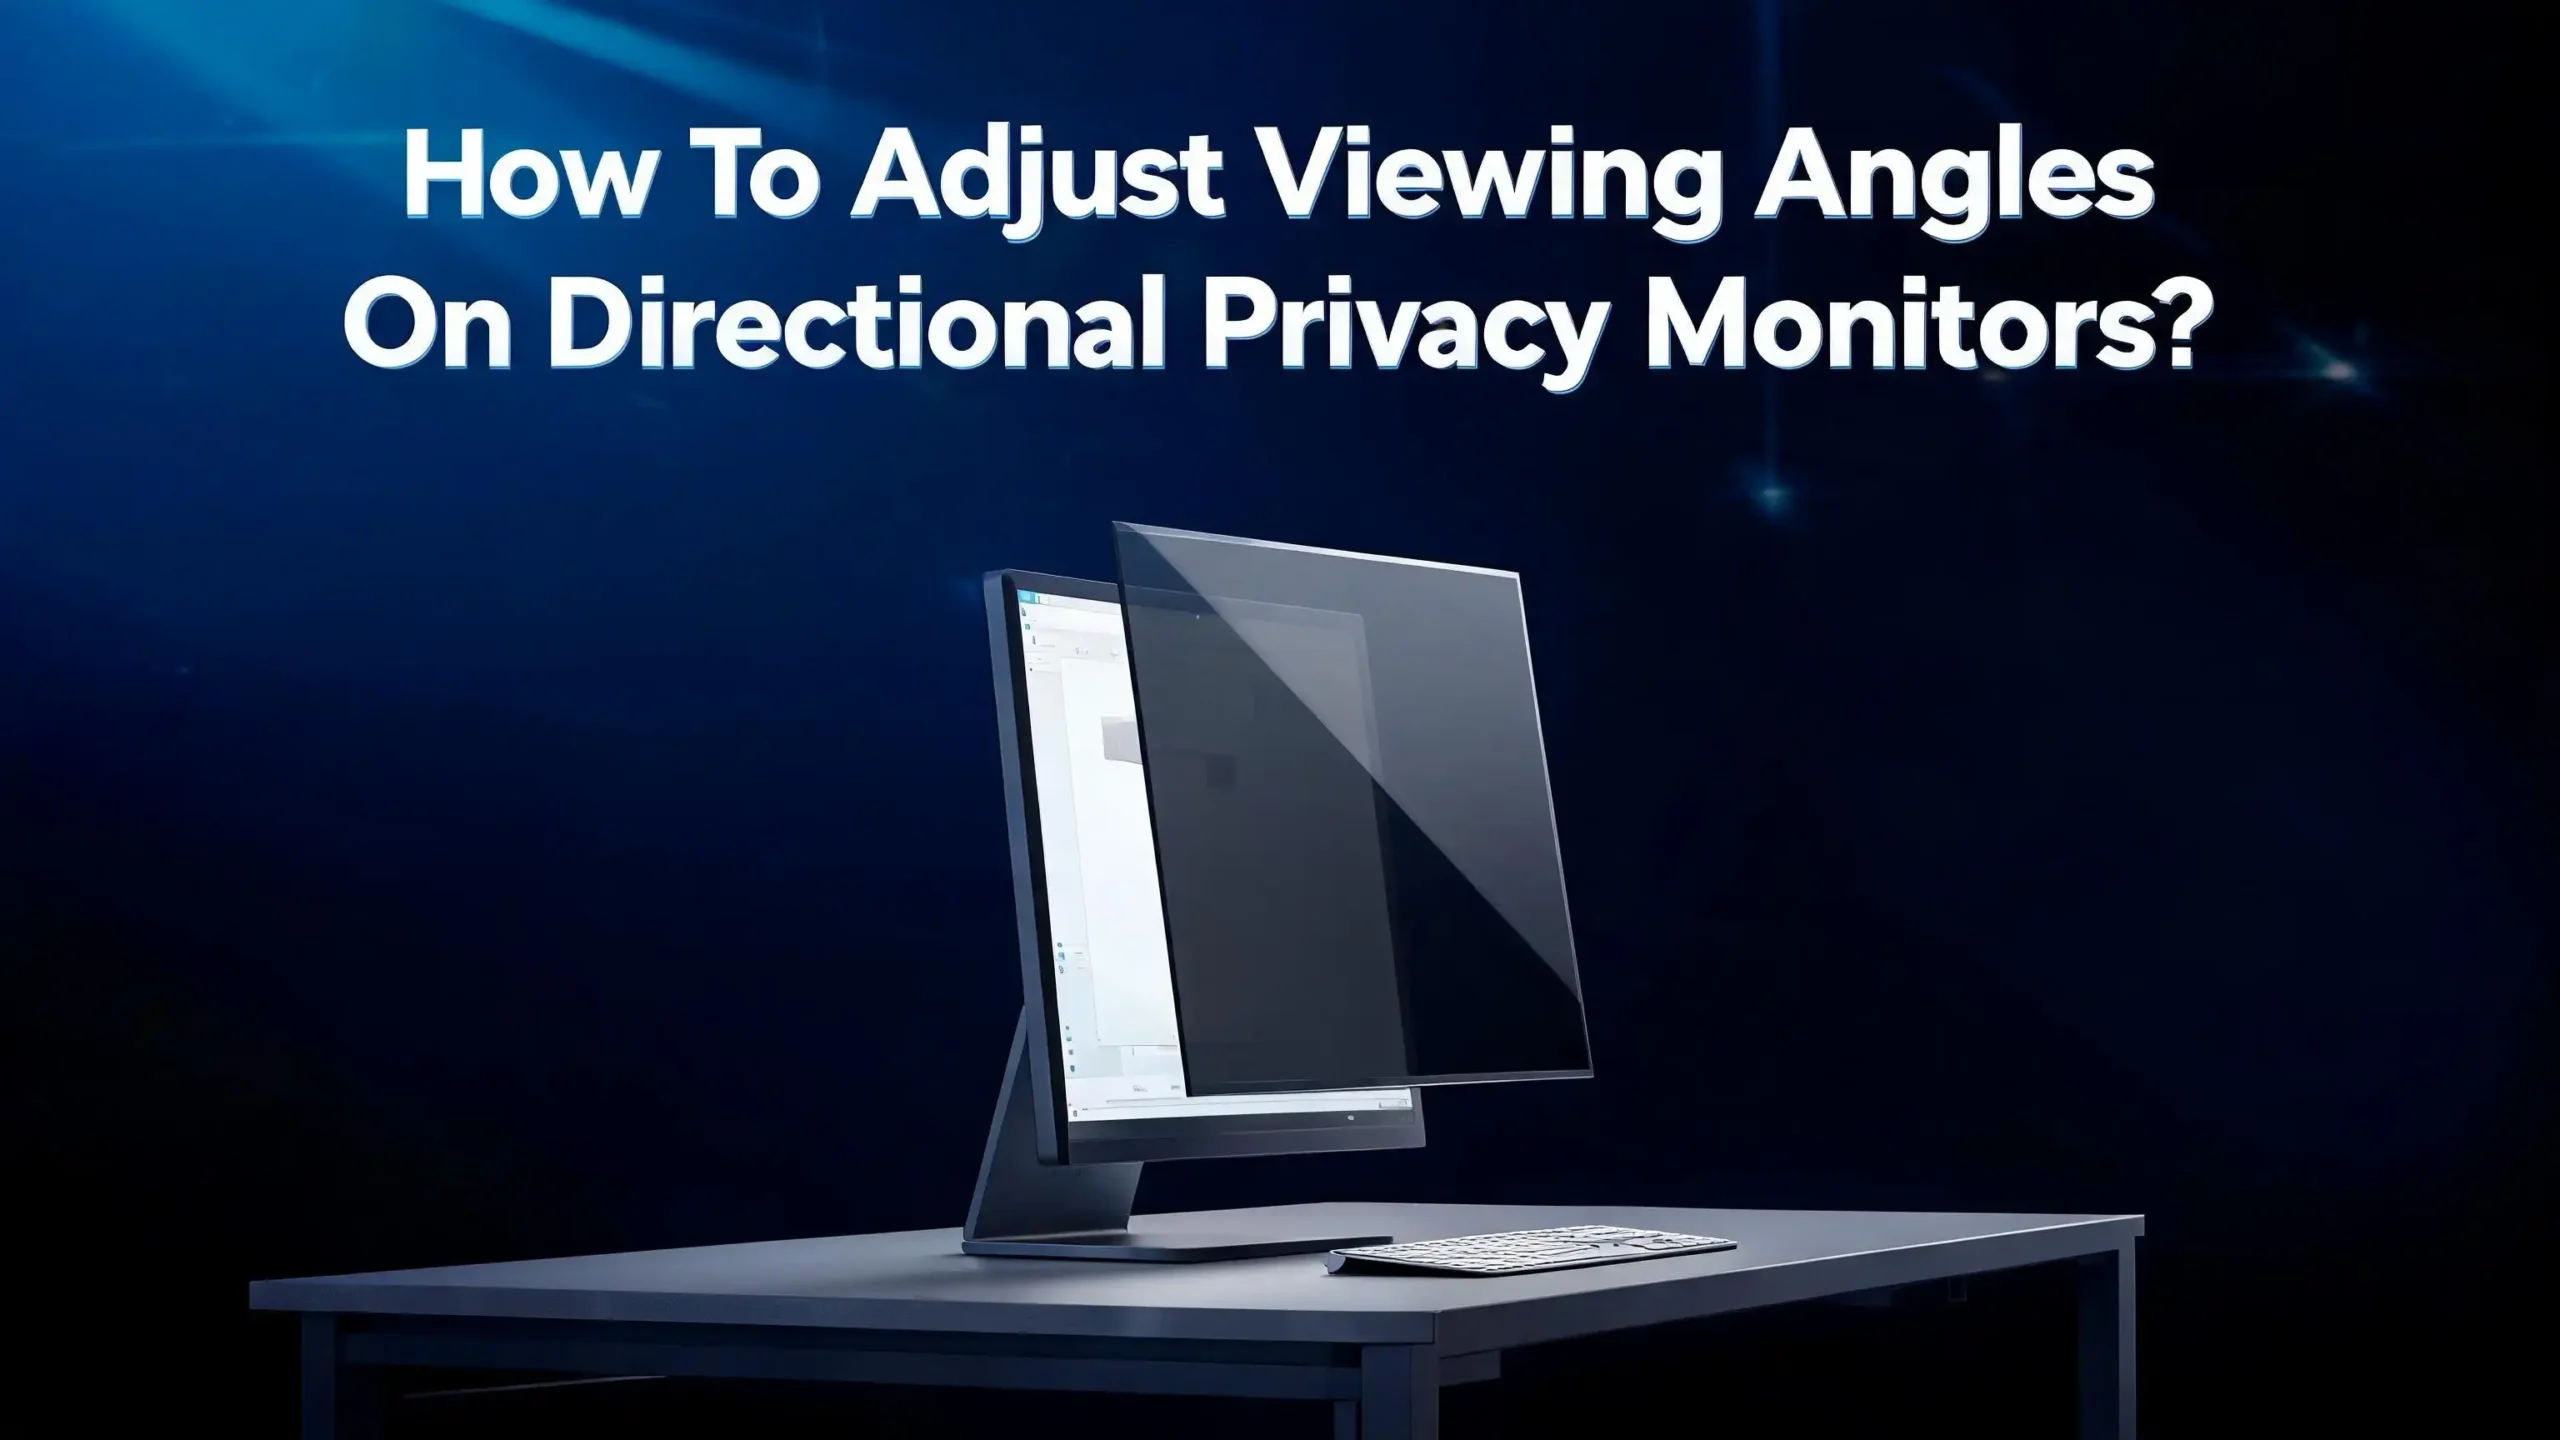
How To Adjust Viewing Angles On Directional Privacy Monitors?
Have you ever sat in a busy office or coffee shop and worried about someone peeking at your screen? A directional privacy monitor solves that problem by limiting who can see your display. But here is the catch.
Many people install a privacy screen and never think about fine tuning it. They assume the filter will work perfectly right out of the box. That is rarely the case.
Your seating position, monitor height, screen brightness, and even the type of privacy filter you use all affect how well the privacy angle works for you. A small adjustment can mean the difference between a crisp, bright display and a frustratingly dark one.
This guide walks you through every practical step you need to adjust the viewing angle on your directional privacy monitor.
Key Takeaways
- Directional privacy monitors use micro louver technology to restrict side angle visibility. These microscopic structures work like tiny window blinds, letting light pass straight ahead while blocking it from the sides. Understanding this principle helps you adjust your setup for the best results.
- Your seating position matters as much as the filter itself. If you sit too far to one side or too high above the screen, even a perfectly installed privacy filter will darken your view. Always align yourself with the center of the display before making other adjustments.
- Screen brightness needs a boost after installation. Most privacy filters reduce display brightness by 15% to 30%. Increasing your monitor brightness by a similar amount compensates for this loss and keeps the image sharp and readable.
- The angle rating of your filter determines how strict the privacy is. A 28 degree filter offers maximum privacy but a very narrow viewing window. A 60 degree filter gives you more flexibility in your seating position. Choose the right angle for your environment.
- Monitor tilt and height are critical adjustment tools. Tilting your screen forward or backward by even a few degrees can significantly improve clarity through a privacy filter. Pair this with proper monitor height so your eyes meet the center of the screen.
- Regular cleaning and maintenance affect viewing quality. Dust, fingerprints, and scratches on the privacy filter scatter light and reduce clarity. A simple weekly cleaning routine keeps the viewing angle sharp and the image bright.
What Is A Directional Privacy Monitor And How Does It Work
A directional privacy monitor limits who can see what is on your screen based on their viewing position. If someone looks at the display from a side angle, they see a darkened or blacked out screen. The person sitting directly in front sees a normal, clear image.
This effect comes from micro louver technology. Inside the privacy layer, thousands of microscopic vertical structures sit in tight rows. These structures act like miniature window blinds. They allow light to travel straight ahead through narrow channels. Light trying to escape at wider angles hits the sides of these louvers and gets absorbed.
The spacing, thickness, and alignment of these micro louvers determine the privacy angle. A tighter louver pattern creates a narrower viewing window, which means stronger privacy but a dimmer image for the user. A wider pattern lets more light through at broader angles, which keeps the screen brighter but reduces privacy protection.
Privacy monitors come in two main forms. Physical filter screens attach to your existing monitor using adhesive strips, magnets, or clip on frames. Built in electronic privacy screens are integrated into certain laptop models and can be toggled on or off with a keyboard shortcut. Both types rely on the same micro louver principle, but they differ in how you adjust them.
Understanding Privacy Angle Ratings And What They Mean
Privacy filters come with specific angle ratings, and these numbers directly affect your experience. The most common ratings are 28 degrees, 30 degrees, 45 degrees, and 60 degrees. Each number represents the total visible cone measured from the center of the screen.
A 28 degree filter provides the strictest privacy. It allows clear visibility within only 14 degrees on each side of center. This means you must sit almost perfectly centered in front of the screen. Any slight shift in your chair can push you outside the clear zone and darken the image.
A 60 degree filter is much more forgiving. It offers clear viewing within 30 degrees on each side. This gives you room to lean, shift, or adjust your posture without losing image quality. Many office users prefer this option because it balances privacy with comfort.
Light transmittance also varies by angle rating. A 28 degree filter typically allows around 54% of the screen’s light to pass through. A high transmittance privacy filter in the 60 degree range may allow 70% to 80% of light through. This means the stricter your privacy angle, the more you need to increase screen brightness to compensate.
Before adjusting your setup, check the angle rating printed on your filter’s packaging or documentation. This number tells you exactly how much room you have for positioning. If your filter has a very narrow angle, precise alignment becomes essential. If it has a wider angle, you have more flexibility with your seating and monitor position.
How To Position Your Monitor For The Best Viewing Angle
Correct monitor positioning is the foundation of a good privacy screen experience. Even the best filter will fail you if the screen sits at an awkward height or angle relative to your eyes.
Start by placing the top edge of your screen at or slightly below your eye level. Ergonomics research shows that the ideal position puts your line of sight about 15 to 20 degrees below horizontal when you look at the center of the screen. This position keeps your neck relaxed and aligns your eyes with the sweet spot of the privacy filter.
Distance matters too. Place the monitor at least 20 inches (about 50 centimeters) from your eyes. An arm’s length is a good rule of thumb. If you sit too close, you may notice the micro louver pattern as a faint grid overlay. If you sit too far, the narrow viewing cone of the filter may cut off parts of the screen.
Center yourself directly in front of the display. Privacy filters work best when your eyes align with the geometric center of the screen. If your desk setup forces you to sit off center, consider repositioning your monitor or using a monitor arm that allows easy lateral adjustment.
For dual monitor setups, angle each screen inward so that it faces you when you turn your head. The privacy filter on each monitor needs its own alignment. A monitor that sits flat against the wall while you view it from a 30 degree angle will look dark through a privacy filter, even though the content would be perfectly visible without one.
Step By Step Guide To Adjusting The Tilt Of Your Privacy Monitor
Monitor tilt is one of the most effective adjustments you can make. A small change in the forward or backward angle of your screen can dramatically improve image clarity through a privacy filter.
Step 1: Sit in your normal working position. Do not adjust anything yet. Simply observe the screen and note whether the image appears dim, washed out, or unevenly lit. Pay attention to whether the top or bottom of the screen looks darker than the rest.
Step 2: Tilt the monitor backward by 10 to 15 degrees. Most ergonomic guidelines recommend a slight backward tilt. This angle helps the light from the screen travel directly toward your eyes. Grab the top of the monitor and gently push it back until you notice the image brighten.
Step 3: Fine tune the tilt in small increments. Move the screen by just one or two degrees at a time. Watch the display as you make each adjustment. You will notice a point where the image snaps into full clarity. That is your optimal tilt angle.
Step 4: Check for vertical privacy leaks. After tilting, stand up and look down at the screen. If you can still read the content from above, the tilt may be too aggressive. Pull the top of the monitor forward slightly until the content disappears from above while remaining clear from your seated position.
Step 5: Lock the tilt in place. If your monitor stand has a tilt lock mechanism, engage it now. This prevents the screen from shifting over time due to vibrations or accidental bumps. A stable tilt angle is essential for consistent privacy protection.
How To Adjust Brightness And Contrast After Installing A Privacy Filter
A privacy filter absorbs a portion of the light your monitor produces. Standard filters reduce brightness by 15% to 30%, and stricter 28 degree filters can reduce it even more. If you do not compensate for this, your screen will look noticeably darker than before.
Open your monitor’s on screen display (OSD) menu using the buttons on the monitor frame. Look for the brightness setting and increase it by 15 to 25 percent above your previous level. This should restore the image to a comfortable brightness without washing out colors.
Contrast adjustment is just as important but often overlooked. Privacy filters can flatten the difference between light and dark areas on screen. Increase contrast by about 10% to bring back depth and definition to text and images. If text appears fuzzy or gray against its background, this adjustment will help.
For laptop users with built in privacy screens, the brightness compensation is usually handled automatically by the system. However, you can still fine tune it through your operating system’s display settings. On Windows, go to Settings, System, Display and adjust the brightness slider. On macOS, use System Settings, Displays.
Avoid setting brightness to maximum. This drains battery quickly on laptops and can cause eye strain during long work sessions. Instead, find the lowest brightness level where text remains sharp and comfortable to read. Test this in the lighting conditions where you normally work, because ambient light in the room changes how bright the screen needs to be.
How To Handle Two Way Versus Four Way Privacy Filters
Not all privacy filters restrict viewing from the same directions. Two way privacy filters block visibility from the left and right sides only. Four way privacy filters block visibility from all four directions: left, right, top, and bottom.
If you use a two way filter and work in an environment where people mostly pass by on your left and right, this setup works well. The screen will look dark from either side but remain fully visible from above and below. This is the most common type for desktop monitors in office cubicles.
A four way filter adds vertical privacy. This is useful in settings where people stand behind you and look down at your screen, such as open plan offices or shared workstations. However, four way filters have a tighter overall viewing cone, which means the adjustment process is more precise.
When adjusting a two way filter, focus on horizontal alignment. Make sure you sit centered left to right. Tilting the monitor does not change horizontal privacy, so your lateral position is the key variable.
When adjusting a four way filter, both horizontal and vertical alignment matter. You need to be centered side to side and also at the correct height. If your chair is too low, the top of the screen may appear dark. If your chair is too high, the bottom of the screen may darken. Adjust your chair height until the entire screen appears uniformly bright.
If you switch between sitting and standing at an adjustable desk, test the privacy filter at both positions. You may need to slightly re tilt the monitor when you change from sitting to standing height.
Adjusting Built In Electronic Privacy Screens On Laptops
Several laptop manufacturers now include electronic privacy screens that you can toggle on and off. These built in systems use an electrically controlled layer that activates the micro louver effect. When turned off, the screen behaves like a normal display with wide viewing angles.
To activate the built in privacy mode, look for a dedicated keyboard shortcut. On many business laptops, the function key combination is printed with a small privacy icon on the keyboard. Press it once to activate privacy mode, and press it again to deactivate.
Once activated, the screen will appear dimmer. This is normal. Go to your laptop’s display settings and increase brightness to compensate. Most systems allow you to create a separate brightness profile for privacy mode so you do not have to manually readjust every time you toggle.
The viewing angle on a built in electronic privacy screen is fixed by the manufacturer, typically at around 60 degrees. You cannot change this angle through software. However, you can influence how well it works by adjusting your screen tilt and seating position, just as you would with a physical filter.
Some users report that the privacy mode produces a slight color shift or yellowish tint. If this bothers you, check your display color settings. Adjust the color temperature slider toward cooler tones to counteract the warmth. This small change can make the display look much more natural in privacy mode.
How To Properly Install A Removable Privacy Filter For Angle Accuracy
A poorly installed privacy filter will produce uneven darkening, light leaks at the edges, and an inconsistent viewing angle. Proper installation ensures the micro louvers align correctly with your screen.
Clean the screen first. Use a microfiber cloth and a screen safe cleaning solution to remove all dust, fingerprints, and oils. Even tiny particles trapped under the filter can create bright spots or bubbles that distort the viewing angle. Turn off the monitor during cleaning so you can see debris clearly against the dark background.
Choose the right attachment method. Adhesive strips work for permanent installations. Magnetic mounts work for laptops with metal bezels. Clip on tabs work for monitors where you want to remove the filter frequently. Each method holds the filter at a slightly different distance from the screen surface, and this gap affects angle accuracy.
Align the filter precisely before securing it. Hold the filter against the screen and check that all four edges sit evenly. A filter that is shifted even two millimeters to one side will block part of the visible area on that side and leave a gap on the other. This misalignment creates uneven privacy and forces you to sit off center.
After installation, sit in your normal position and check every corner of the screen. All four corners should appear equally bright. If one corner is darker than the others, the filter is not flush with the screen in that area. Gently press the darker area to seat the filter properly, or adjust the attachment tabs.
Troubleshooting Common Viewing Angle Problems
Even after careful setup, you may encounter issues with your privacy monitor. Here are the most common problems and their solutions.
Problem: The screen looks too dark even at maximum brightness. This usually means you have a very strict privacy filter (28 or 30 degree) combined with a monitor that does not produce enough light. Check your monitor’s brightness rating in nits. A privacy filter works best on monitors rated at 300 nits or higher. If your monitor is rated below 250 nits, consider switching to a wider angle filter.
Problem: The image looks clear from the side. Your filter may be installed backward. Most privacy filters have a glossy side and a matte side. The glossy side should face the screen. Flip the filter and test again. Also check whether your filter has shifted during use, creating a gap where light escapes.
Problem: Colors look different through the filter. Privacy filters can alter color temperature slightly. Open your monitor’s OSD menu and adjust the color profile. Select a warm or custom preset and fine tune the red, green, and blue channels until colors look accurate. If you do color sensitive work, remove the filter during those tasks.
Problem: You see a visible grid pattern on the screen. This happens when you sit too close to the display. Move your monitor back by a few inches. The micro louver pattern becomes invisible at the recommended viewing distance of 20 inches or more.
Problem: Uneven brightness across the screen. This indicates the filter is not sitting flat against the display. Remove the filter, clean both surfaces, and reinstall. Make sure the attachment points hold the filter firmly against the screen without gaps.
Optimizing Your Workspace Layout For Privacy Monitors
Your physical workspace plays a big role in how effective a privacy monitor is. A few layout changes can improve both your privacy protection and your viewing comfort.
Position your desk so the monitor faces a wall or partition. This reduces the number of angles from which someone could see your screen. If your back faces a wall and your screen faces another wall, the only viewing angle available to passersby is directly from the side, which the privacy filter already blocks.
Avoid placing your monitor near windows or strong light sources. Bright ambient light hitting the privacy filter can create glare and reduce contrast. If you cannot avoid a window, use blinds or curtains to control incoming light. A matte finish privacy filter also helps reduce reflections from overhead lighting.
Consider the height of people walking near your desk. Standing adults look down at a seated person’s screen. A two way privacy filter does not block this overhead view. If foot traffic passes close behind you, either use a four way filter or tilt your screen forward slightly to cut off the downward viewing angle.
For open office environments, a monitor arm gives you the most adjustment flexibility. You can quickly reposition the screen angle, height, and lateral position without moving your entire desk. This is especially valuable if you change seats frequently or share a hot desk with others.
Maintaining Your Privacy Filter For Long Term Performance
A privacy filter is not a set it and forget it accessory. Regular maintenance keeps the viewing angle sharp and the image quality high over time.
Clean the filter weekly. Use a dry or slightly damp microfiber cloth. Avoid household glass cleaners, alcohol sprays, or paper towels. These can damage the micro louver structure or leave residue that scatters light. Wipe gently in one direction rather than scrubbing in circles to avoid scratching the surface.
Inspect the filter monthly for scratches. Deep scratches in the micro louver layer scatter light outward, which weakens privacy by letting the image leak at wider angles. If you notice scratches that are visible during normal use, it is time to replace the filter. Minor surface marks that are only visible on close inspection usually do not affect performance.
Store removable filters properly when not in use. Lay them flat in a protective sleeve or the original packaging. Do not stack heavy items on top of a filter, and do not fold or bend it. Warped filters will not sit flat against the screen, creating uneven brightness and angle problems.
Check the attachment mechanism regularly. Adhesive strips lose their grip over time, and magnetic mounts can weaken. If the filter slides or shifts during use, the viewing angle changes without you noticing. Replace adhesive strips every six to twelve months, or sooner if the filter starts to droop.
A well maintained privacy filter lasts one to three years depending on usage and environment. Replacing it before it degrades ensures consistent privacy protection and comfortable viewing at your adjusted angle.
Choosing The Right Privacy Filter Angle For Your Environment
Selecting the correct privacy angle before purchase saves you from adjustment headaches later. The right choice depends on your physical surroundings and how much positional freedom you need.
For high security environments like financial offices or healthcare settings, choose a 28 or 30 degree filter. These offer the strongest visual protection and make the screen nearly invisible beyond a very narrow cone. Workers in these fields handle confidential data that requires maximum shielding. Accept the narrower viewing window and invest time in precise alignment.
For general office use with moderate foot traffic, a 45 degree filter provides a solid middle ground. It blocks casual glances from coworkers while giving you enough room to shift in your chair or lean back. This is the most popular choice for standard corporate environments.
For home offices or low traffic areas where you want basic privacy, a 60 degree filter offers the widest comfortable viewing range. It still prevents someone across the room from reading your screen, but it does not punish you for sitting slightly off center.
Consider your screen size too. Larger monitors (27 inches and above) amplify the effect of narrow viewing angles. On a large screen with a 28 degree filter, the edges of the display may look darker than the center even when you sit directly in front. A wider angle filter can solve this problem for big monitors.
Finally, think about whether you work alone or collaborate frequently. If coworkers often sit beside you to review work, a strict privacy filter makes collaboration difficult. A removable magnetic filter lets you pop it off for shared viewing and snap it back on when you need privacy.
Quick Calibration Checklist For Directional Privacy Monitors
Use this checklist every time you install a new filter or move your workstation. It takes five minutes and ensures your privacy monitor performs at its best.
First, center your body in front of the screen. Your nose should point at the middle of the display. Adjust your chair laterally if needed. This alignment puts your eyes inside the filter’s optimal viewing cone.
Second, set your eye height to match the screen center. Raise or lower your chair until your eyes naturally rest at the vertical midpoint of the display. If this is not possible, tilt the monitor to compensate. A slight backward tilt works when you sit lower. A slight forward tilt works when you sit higher.
Third, increase brightness by 15 to 25 percent above your pre filter setting. Then increase contrast by about 10 percent. Check that text looks crisp and that dark areas on screen still show detail.
Fourth, test the privacy effect. Stand up and move to the left side of the screen. Walk slowly toward the front until the display becomes visible. Note where the blackout zone begins. Repeat on the right side. Both sides should black out at roughly the same angle. If one side is visible from a wider angle, the filter is misaligned and needs repositioning.
Fifth, test from above and below. If you use a four way filter, check that the screen darkens when you stand behind your chair and look down. Also check from below by crouching. Adjust monitor tilt until both vertical angles provide adequate privacy.
This quick routine ensures your directional privacy monitor protects your screen content while giving you a bright, comfortable viewing experience every day.
Frequently Asked Questions
Can I adjust the privacy angle on a fixed privacy filter?
No, the privacy angle on a physical filter is fixed during manufacturing. A 30 degree filter will always be a 30 degree filter. However, you can influence the effective viewing experience by adjusting your monitor tilt, seating height, and lateral position. These physical adjustments change how your eyes interact with the filter’s fixed angle, giving you practical control over brightness and clarity.
Why does my privacy screen look yellow or tinted?
Some privacy filters alter the color temperature of your display slightly. This is a normal side effect of the micro louver layer absorbing certain wavelengths of light. You can correct this by adjusting the color temperature setting in your monitor’s display menu. Shift it toward cooler tones to neutralize the warm tint. On laptops, check the display color profile in your operating system settings.
Do privacy filters work on curved monitors?
Standard flat privacy filters do not conform well to curved screens. They leave gaps at the edges that allow light to leak, which defeats the purpose. Curved monitors require specially designed flex cut filters that bend to match the screen curvature. These are less common and more expensive, but they maintain consistent privacy across the entire display.
How do I know if my privacy filter is installed correctly?
A correctly installed filter produces uniform brightness across the entire screen when viewed from your normal seated position. All four corners should look equally clear. If one side appears darker or brighter, the filter is shifted or not sitting flat. Remove it, clean both surfaces, and reinstall with careful alignment before securing the attachment points.
Can I use a privacy filter with a touchscreen monitor?
Yes, but you need to choose a filter rated as touchscreen compatible. Thicker tempered glass filters can reduce touch sensitivity, especially near screen edges. Thin film filters generally preserve full touch responsiveness. If you notice lag or missed inputs after installation, try a thinner filter or one specifically designed for touch displays.
Does a privacy filter protect against screen recording or screen sharing?
No. A privacy filter only blocks physical visual access from side angles. It has no effect on digital screen capture, remote screen sharing, or screenshots. Anyone with software access to your screen can still see and record its contents. A privacy filter is a physical security tool, not a digital one. Use encryption, access controls, and VPN software for digital privacy.
Hi, I’m Lily — a tech enthusiast and the voice behind SmartResizerr.com. I love testing gadgets, breaking down specs into plain English, and helping everyday people find the right tech without the overwhelm.