How To Replace Swollen Solid State Batteries In Ultra Thin Smartphones?
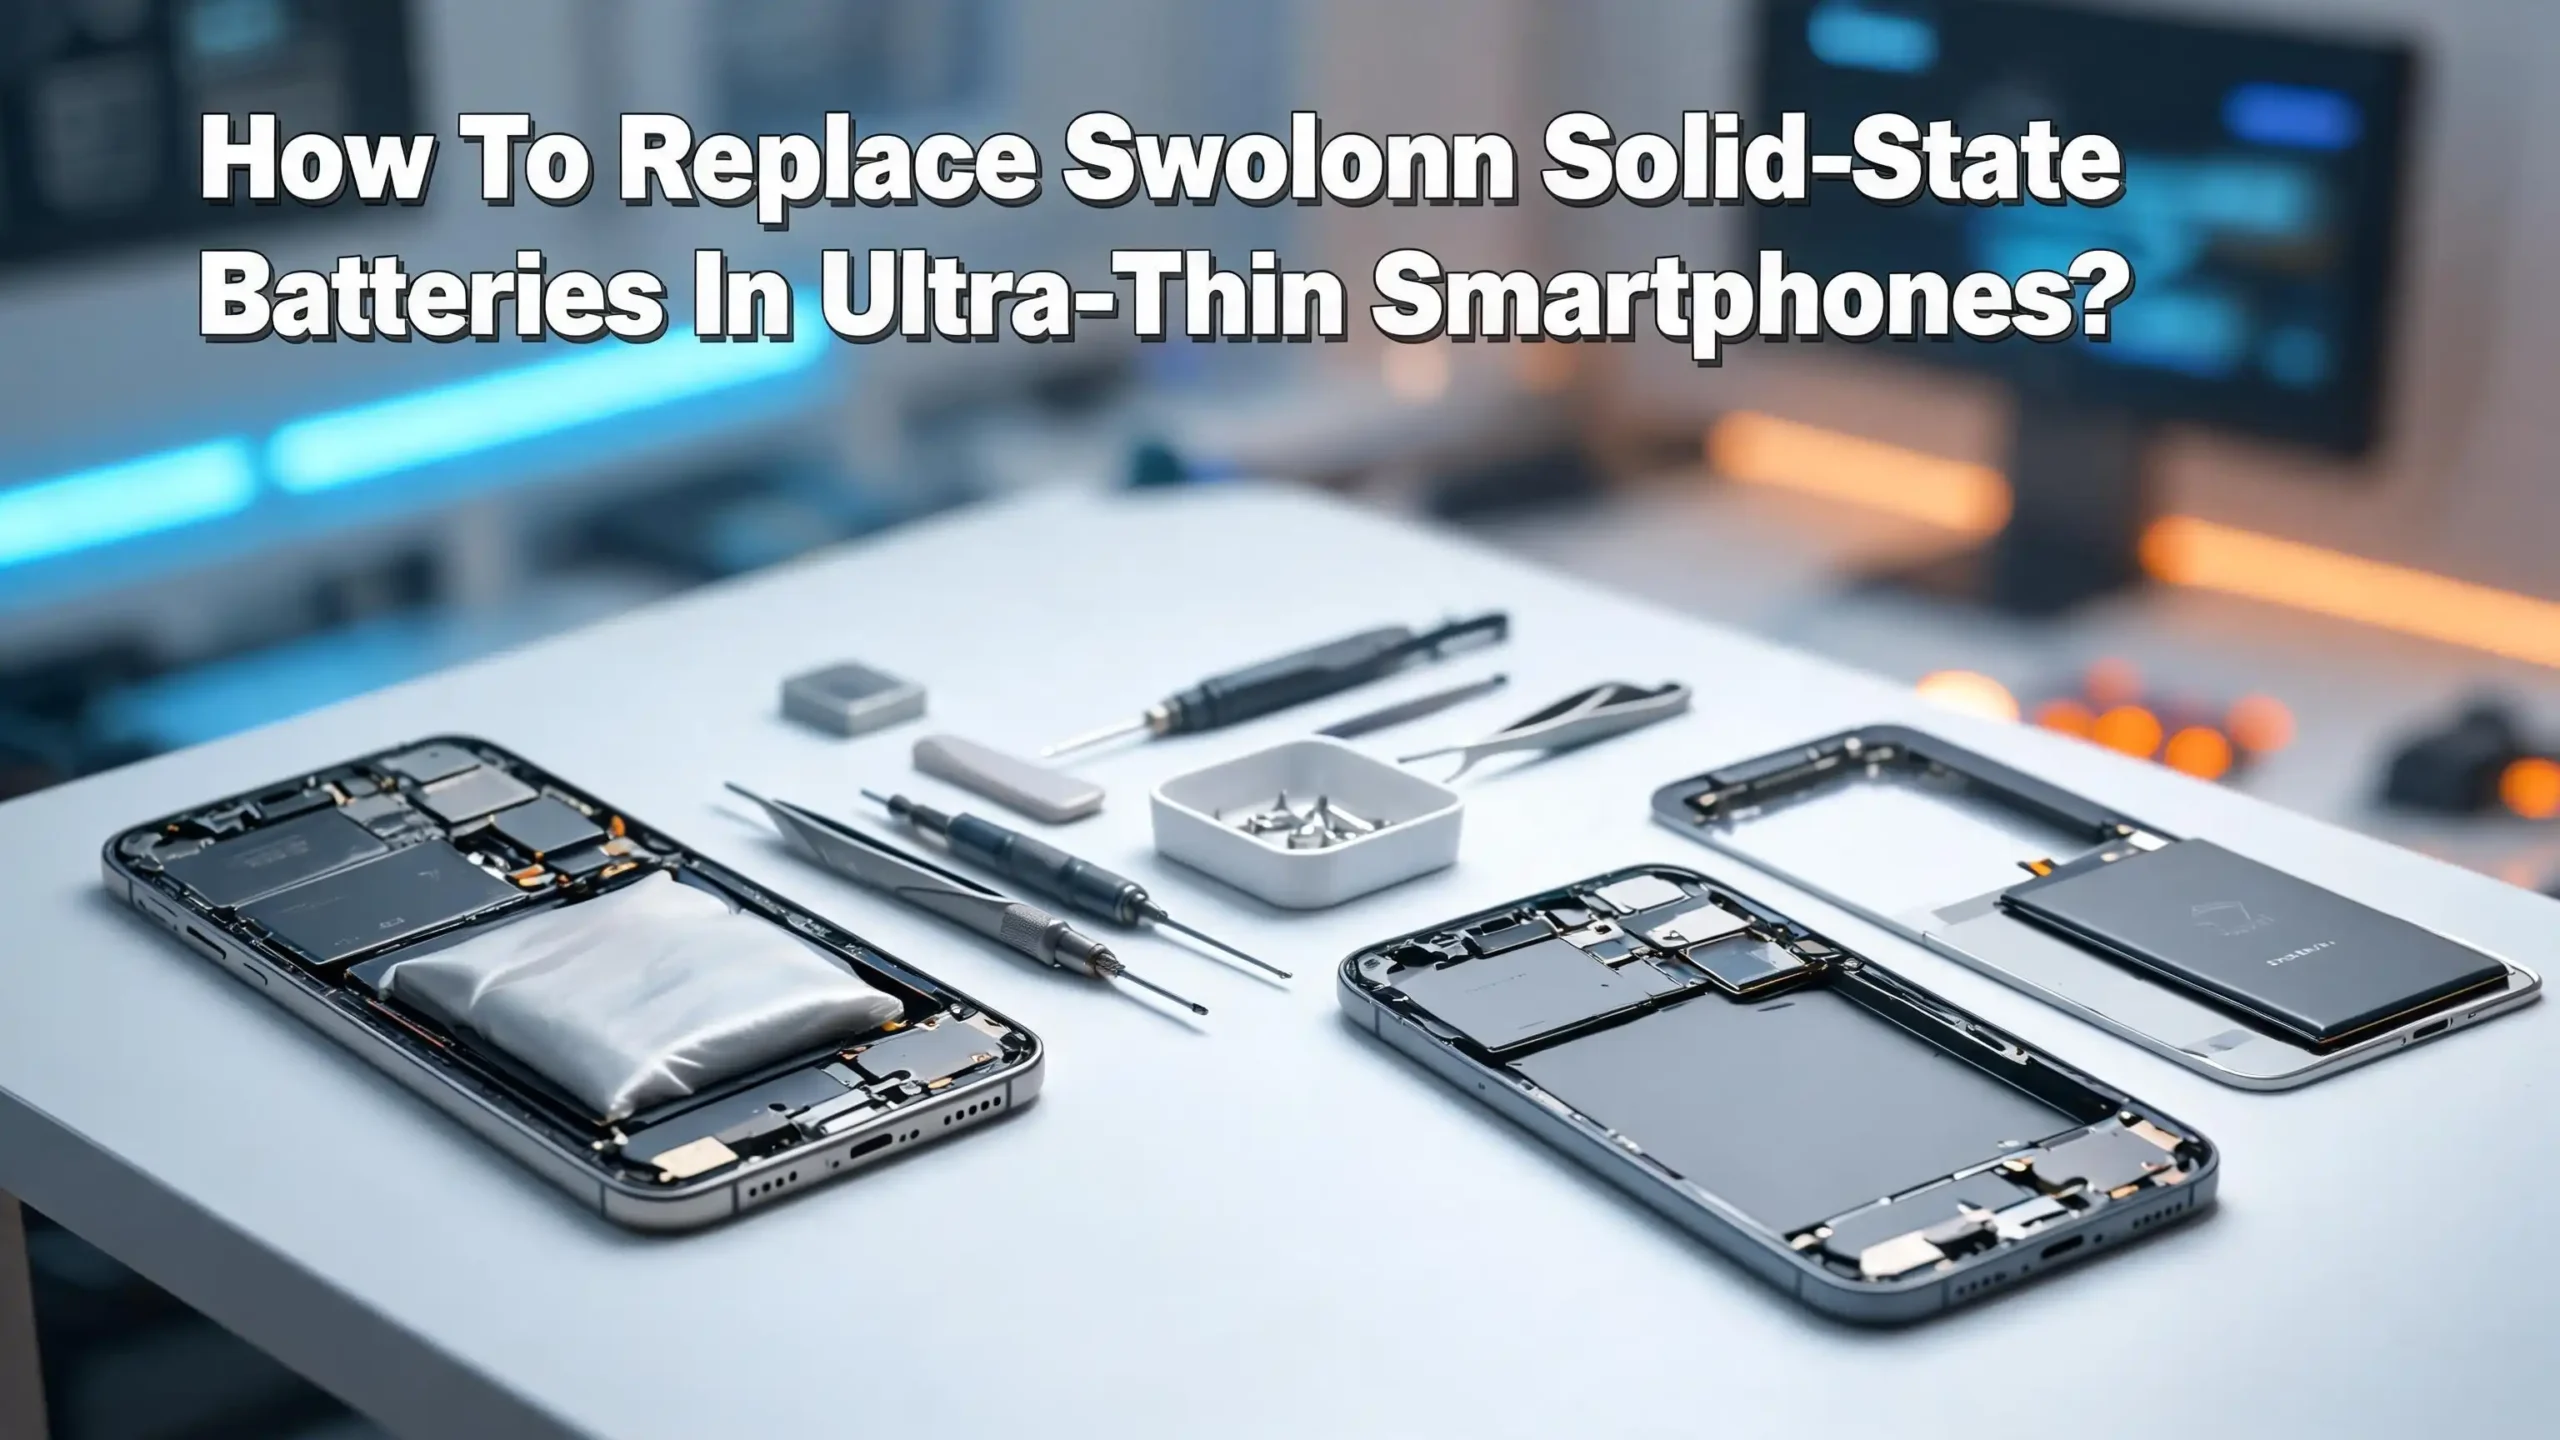
Your ultra thin smartphone suddenly has a bulge. The screen lifts slightly from the frame. The back panel feels warm and looks bent outward. These are clear signs that the solid state battery inside your device has started to swell.
Solid state batteries are the new standard in premium smartphones. They replaced traditional lithium ion cells with a solid electrolyte instead of a liquid one. These batteries offer higher energy density, faster charging, and better safety. But they are not immune to swelling.
This guide walks you through every step of the process. You will learn how to identify the problem, prepare your workspace, safely remove the old battery, and install a new one. You will also learn what causes swelling in the first place and how to prevent it from happening again.
Key Takeaways
- A swollen solid state battery is a fire hazard. Stop using your smartphone immediately if you notice any bulging, screen lifting, or unusual warmth. Do not charge a phone with a swollen battery because this increases the risk of combustion.
- Solid state batteries swell differently than lithium ion batteries. They use a solid electrolyte instead of a liquid one, which means gas buildup happens through different chemical pathways. The swelling is often slower but still dangerous.
- You need specific tools for ultra thin smartphones. These include a heat gun or warming pad, plastic pry tools, suction cups, tweezers, and isopropyl alcohol. Never use metal tools near the battery because puncturing it can cause a fire.
- Always work in a well ventilated area with safety gear. Wear safety glasses and gloves. Keep a fireproof container nearby. Work on a non flammable surface and have a clear path to an outdoor area in case of emergency.
- Proper disposal is required by law in many regions. Do not throw a swollen battery in the trash or recycling bin. Take it to a certified e waste collection point. Never ship a swollen battery through regular mail services.
- Prevention is the best long term strategy. Avoid overcharging, extreme temperatures, and physical impacts. Keep your battery between 20% and 80% charge for daily use. Replace any battery that no longer holds a proper charge.
What Makes Solid State Batteries Different From Lithium Ion
Solid state batteries use a solid electrolyte instead of a liquid one to move lithium ions between the cathode and anode. Traditional lithium ion batteries rely on a flammable organic liquid electrolyte dissolved with lithium salts. This liquid can ignite under stress, heat, or damage.
The solid electrolyte in newer batteries can be a ceramic, a polymer, or a sulfide compound. These materials are more thermally stable and less likely to catch fire. Solid state batteries also allow the use of lithium metal anodes instead of graphite. This increases energy density significantly, which is why they can deliver 400 to 500 Wh/kg compared to 200 to 300 Wh/kg in lithium ion cells.
For smartphones, this means a thinner battery that stores more power. Manufacturers can build slimmer devices without sacrificing battery life. However, the solid to solid interface between the electrolyte and electrode creates unique challenges. Poor contact at this interface can increase internal resistance and generate heat over time.
Understanding this difference matters because it affects how swelling occurs and how you should handle a damaged solid state battery. The absence of liquid electrolyte changes the risk profile, but it does not eliminate the danger entirely.
Why Solid State Batteries Swell In Ultra Thin Smartphones
Battery swelling happens when gas builds up inside the cell. In traditional lithium ion batteries, this gas comes from decomposition of the liquid electrolyte. In solid state batteries, the mechanism differs but the outcome looks similar.
Solid state cells can swell due to mechanical stress at the electrode interfaces. Over many charge and discharge cycles, tiny cracks form in the solid electrolyte. These cracks increase internal resistance and can trigger localized chemical reactions that produce gas. The rigid structure of the solid electrolyte also means that any volume changes in the electrodes during cycling create pressure inside the cell.
Ultra thin smartphones make this worse. The battery sits inside an extremely tight enclosure with very little room for expansion. Even a small amount of gas generation creates visible deformation. The thin chassis cannot absorb the pressure the way a thicker device might.
Other common causes include overcharging, exposure to high temperatures, manufacturing defects, and physical damage from drops. Leaving your phone in a hot car or using a low quality charger can accelerate the chemical reactions that lead to swelling. A single hard drop can also damage the internal layers of the battery and start a slow chain of degradation.
How To Recognize A Swollen Battery In Your Smartphone
The first sign is usually physical deformation. Your phone may feel thicker than normal. The screen might lift slightly from the frame, creating a visible gap. The back panel might bow outward or feel spongy when pressed.
Button alignment can change too. Power buttons or volume rockers may become stiff or hard to push. Your phone case might no longer fit properly. In some cases, the display develops a faint glow or pressure spot in one area because the swelling battery pushes against it from behind.
You might also notice performance changes. The battery drains faster than usual. The phone shuts down at 20% or 30% instead of running to near zero. It may overheat during normal use or while charging.
A subtle but important sign is smell. A sweet, metallic, or chemical odor near your phone suggests that gas is escaping through the battery seal. If you detect this, stop using the device immediately. Do not charge it. Do not put it in an enclosed space. Place it on a non flammable surface in a well ventilated area and plan for battery removal as soon as possible.
Essential Tools And Materials You Will Need
Replacing a solid state battery in an ultra thin smartphone requires precision tools designed for modern devices. Standard screwdrivers and household tools will not work and may damage the phone or puncture the battery.
You will need a pentalobe or tri point screwdriver depending on your phone model. Most ultra thin smartphones use specialty screws to secure the back panel. A suction cup helps lift the screen or back glass without cracking it. Plastic pry tools and spudgers are essential for disconnecting ribbon cables and loosening adhesive without scratching internal components.
Isopropyl alcohol (90% concentration or higher) is critical for dissolving the adhesive that holds the battery in place. Some repair guides recommend acetone, but this can damage plastic parts inside the phone. A heat gun or warming pad set to low temperature softens the adhesive and makes battery removal safer and easier.
You also need safety equipment. This includes safety glasses or goggles, nitrile gloves, and a fireproof container such as a metal can or bucket of sand. Anti static wrist straps help protect sensitive electronics from static discharge. Have long blunt tongs available in case you need to move a damaged battery without touching it directly.
Finally, get the correct replacement battery for your specific phone model. Use the manufacturer part number to verify compatibility. An incorrect battery size or voltage rating can cause further damage.
How To Prepare Your Workspace For Safe Battery Removal
Your workspace setup directly affects your safety. Never work on a flammable surface like a wooden desk with papers nearby. Choose a metal table, concrete floor, or a dedicated repair mat made from heat resistant silicone.
Make sure the room has good ventilation. Open windows or work near a door. Battery chemicals can release fumes that are harmful if inhaled in a closed space. If possible, work outdoors on a cool, dry day to minimize risk.
Place your fireproof container within arm’s reach. A metal baking sheet, a sealed metal can, or a bucket filled with sand works well. If the battery begins to smoke or heat up during removal, you need to move it to this container immediately.
Organize your tools before you begin. Lay out every tool, the replacement battery, and your safety gear on the work surface. This prevents you from scrambling for items mid repair. Keep a clear path to an outdoor area in case you need to evacuate the battery quickly.
Power down your phone completely before starting. Do not just put it to sleep. Hold the power button and select the full shutdown option. If possible, drain the battery to below 25% before starting the repair. A lower charge reduces the energy stored in the cell and lowers the risk of fire if the battery is accidentally punctured.
Step By Step Guide To Opening An Ultra Thin Smartphone
Opening a modern ultra thin smartphone requires patience and a gentle touch. These devices use strong adhesive to seal the back panel or screen, and the internal components sit very close together.
Start by removing the SIM card tray. Use the ejector pin that came with your phone or a straightened paperclip. Set the tray aside in a small container so you do not lose it.
Apply gentle heat to the edges of the back panel using a heat gun on its lowest setting or a warming pad. Hold the heat source about 5 to 8 centimeters from the surface. Move it slowly along the perimeter for 2 to 3 minutes. The goal is to soften the adhesive, not to overheat the device. Do not concentrate heat directly over the battery area.
Once the adhesive softens, attach a suction cup to the back panel near one corner. Pull gently while sliding a thin plastic pry tool into the gap. Work the pry tool along the edge to separate the adhesive seal. Move slowly. Forcing the panel open can crack the glass or damage internal ribbon cables.
After you separate the back panel, set it face down on a soft cloth. You will now see the internal layout of your phone. Take a photo of the component arrangement before you disconnect anything. This photo serves as your reference during reassembly. Locate the battery connector on the logic board and use a plastic spudger to gently disconnect it.
How To Safely Remove The Swollen Battery
This is the most critical step. A swollen battery is under internal pressure and can release gas, heat, or flames if punctured or bent. Use only plastic tools for this entire process.
First, examine how the battery is attached. Most ultra thin smartphones use adhesive strips or tabs to secure the battery to the frame. Some have pull tabs that you can grip with tweezers and slowly pull to release the adhesive. If you see a pull tab, grip it firmly at a low angle and pull steadily. Do not yank.
If there is no pull tab or if the adhesive is too strong, apply isopropyl alcohol around the edges of the battery. Use a dropper or syringe to place small amounts of alcohol between the battery and the phone frame. Wait 5 to 10 minutes for the alcohol to penetrate and dissolve the adhesive. Then use a thin plastic card or pry tool to slowly work under the battery from one edge.
Do not pry against the battery itself. Instead, pry against the phone frame and let the battery lift gradually. If the battery resists, add more isopropyl alcohol and wait again. Patience here prevents punctures.
If at any point you notice increased heat, a stronger chemical smell, or any smoke, stop immediately. Place the phone in your fireproof container and move it outdoors. Wait for the symptoms to pass before trying again. Do not rush this process under any circumstances.
How To Install The New Solid State Battery
Once the old battery is out, inspect the battery compartment. Remove any remaining adhesive using isopropyl alcohol and a soft cloth. Make sure the compartment is clean, dry, and free of debris. Any residue or foreign particles can prevent the new battery from sitting flat.
Check the battery connector port on the logic board. Look for bent pins, corrosion, or damage. If the connector looks damaged, professional repair may be necessary before proceeding.
Align the new battery in the compartment. Match the orientation exactly to the position shown in the photo you took during disassembly. The connector should line up with the port on the logic board without stretching or bending any cables. Most replacement batteries come with pre applied adhesive strips on the bottom. Peel the protective backing and press the battery firmly into place.
Reconnect the battery cable to the logic board. Use a plastic spudger to gently press the connector until it clicks into position. Do not use excessive force. A proper connection should feel like a light snap.
Before closing the phone, power it on briefly to verify the new battery works. Check that the device boots normally and the battery indicator appears on screen. If the phone does not turn on, disconnect and reconnect the battery cable. Then test again. Once confirmed, power the phone back down for reassembly.
How To Reassemble Your Ultra Thin Smartphone
Reassembly is the reverse of disassembly, but it demands the same level of care. Refer to the photo you took before disconnecting any components. Verify that all ribbon cables are seated properly and no wires are pinched.
If your phone uses adhesive to seal the back panel, apply new adhesive strips along the edges. Many repair kits include pre cut adhesive gaskets matched to specific phone models. Do not reuse the old adhesive because it will not create a proper seal. A weak seal allows dust and moisture to enter the phone and can cause problems later.
Place the back panel or screen assembly onto the phone frame. Align the edges carefully before pressing down. Start from one corner and work your way around the perimeter. Apply firm, even pressure to activate the adhesive bond. Some repair guides recommend placing the phone under a flat weight (like a heavy book on a cloth) for 30 minutes to ensure a strong seal.
Reinsert the SIM card tray. Power on the phone and check all functions. Test the touchscreen, buttons, speakers, cameras, and charging port. Open the battery settings to verify the system recognizes the new battery and displays the correct charge level. If everything works, your replacement is complete.
How To Safely Dispose Of The Swollen Battery
A swollen battery is hazardous waste. You cannot put it in your household trash, curbside recycling bin, or any standard waste container. Improper disposal is illegal in many areas and poses a serious fire risk to waste workers and facilities.
If the battery is warm, emitting a smell, or smoking, place it in your fireproof container and move it outdoors. Wait until all symptoms stop before handling it further. Do not submerge the battery in water for storage as this can cause additional chemical reactions.
Once the battery is stable and cool, tape the terminals with electrical tape or non conductive tape. This prevents accidental short circuits during transport. Place the battery in a non flammable container for transport to a disposal facility.
Take the battery to a certified e waste collection point or a local hazardous waste facility. Many electronics retailers and phone repair shops also accept swollen batteries for proper recycling. Contact your local waste authority for specific drop off locations in your area.
Never ship a swollen battery through regular mail or courier services. There are strict legal regulations about battery transport because a damaged cell can cause fires inside vehicles and aircraft. Only ship batteries with specific authorization and packaging that meets safety standards.
How To Prevent Solid State Battery Swelling In The Future
Prevention saves you money, time, and potential danger. The most effective strategy is proper charging habits. Avoid charging your phone to 100% every night. Most battery experts recommend keeping the charge between 20% and 80% for daily use.
Use only the manufacturer’s charger or a certified third party charger. Low quality or damaged charging cables deliver uneven power that can stress the battery. Fast charging generates more heat than standard charging, so use it only when you actually need it.
Heat is the biggest enemy of any battery. Do not leave your phone in direct sunlight, inside a hot car, or near heat sources. High temperatures accelerate the chemical degradation that leads to swelling. Similarly, avoid extreme cold, which forces the battery to work harder and can reduce its overall lifespan.
Physical protection matters too. A quality phone case absorbs shock from drops. Even a small impact can shift internal components and damage the battery layers. Replace your battery proactively if it no longer holds a proper charge or if your phone is more than 2 to 3 years old. Waiting until the battery swells means you are already in a dangerous situation.
If you plan to store a phone for weeks or months without using it, charge it to about 40% and turn it off. A fully charged or fully depleted battery degrades faster during long term storage.
When To Skip DIY And Seek Professional Help
Not every battery replacement should be a home project. If your phone’s screen has cracked or separated significantly due to the swelling, the internal components may be damaged beyond what a simple battery swap can fix.
If you notice active leaking, strong chemical odors, or discoloration on the battery surface, stop and take the phone to a professional. These signs suggest the battery has breached its containment, and safe removal requires specialized equipment and training.
Phones with complex internal layouts present extra challenges. Some ultra thin models stack components in layers with multiple ribbon cables crossing over the battery. Disconnecting and reconnecting these cables without proper experience risks breaking them, which can disable your camera, speakers, or display.
Warranty coverage is another consideration. Opening your phone voids the manufacturer warranty in most cases. If your device is still under warranty or covered by an extended protection plan, contact the manufacturer first. Many offer free or discounted battery replacements for defective units.
Professional repair shops have the tools, training, and disposal systems to handle swollen batteries safely. The cost of professional replacement is typically modest compared to the value of your phone and your personal safety. If you have any doubt about your ability to complete the repair safely, professional service is the right choice.
Understanding The Long Term Outlook For Solid State Batteries
Solid state battery technology is still in its early stages for smartphones. As of 2026, several manufacturers have started integrating these batteries into premium devices. Samsung, for example, has announced solid state battery technology with potential mass production timelines. China is set to release its first official solid state battery standard in mid 2026.
Energy density improvements mean future solid state batteries will be even thinner and lighter. Current targets aim for 400 to 500 Wh/kg commercially, with research labs pushing beyond 600 Wh/kg. This will allow manufacturers to build smartphones with multi day battery life in even slimmer form factors.
The swelling problem should decrease as manufacturing processes improve. Better interface engineering between the solid electrolyte and electrodes will reduce the micro cracks that cause gas generation over time. New protective coatings and electrolyte materials are already showing improved cycle life in testing.
However, no battery technology is completely immune to degradation. Solid state batteries will still age, lose capacity, and eventually need replacement. Building good charging and usage habits now protects you regardless of which battery chemistry powers your next phone. The fundamentals of battery care stay the same: avoid extreme temperatures, use quality chargers, and replace batteries before they fail catastrophically.
Frequently Asked Questions
Can a swollen solid state battery explode?
Yes, a swollen solid state battery can potentially catch fire or release harmful gases. While solid state batteries are generally safer than lithium ion cells because they use a non flammable solid electrolyte, they still contain stored chemical energy. Internal pressure from gas buildup can breach the battery casing. Stop using your phone immediately if you notice swelling, and handle the battery with care during removal.
How long does it take to replace a swollen battery at home?
A typical battery replacement takes 30 to 60 minutes for someone with basic repair experience. The time varies based on your phone model and how strongly the battery adhesive holds. Ultra thin smartphones with complex internal layouts may take longer. Allow extra time if the swollen battery is stuck firmly to the frame and requires repeated applications of isopropyl alcohol.
Can I use my phone while the battery is swollen?
You should not use a phone with a swollen battery. Continued use generates heat and electrical activity that can worsen the swelling. The battery could leak, catch fire, or cause the screen to crack. Power down the device and plan for battery replacement or professional repair as soon as possible.
Where can I find a replacement solid state battery for my phone?
Check the manufacturer’s official parts store first. Authorized service centers also stock genuine replacement batteries. Online repair communities and certified parts suppliers carry compatible batteries for most popular phone models. Always verify the part number matches your specific device before purchasing. Avoid unbranded or suspiciously cheap batteries as they may lack proper safety certifications.
Is it cheaper to replace the battery myself or go to a repair shop?
DIY replacement costs less in most cases. You typically pay only for the replacement battery and any tools you need. Professional repair adds labor costs that usually range from $30 to $80 depending on the phone model and your location. However, professional service includes proper disposal of the old battery and often comes with a short warranty on the repair work. The extra cost may be worth it for peace of mind and safety.
Does replacing the battery void my phone’s warranty?
In most cases, yes. Opening the phone yourself will void the manufacturer warranty. If your device is still covered, contact the manufacturer or visit an authorized service center first. Many brands offer battery replacement programs for devices that develop swelling within the warranty period. Check your warranty terms before attempting a DIY repair.
Hi, I’m Lily — a tech enthusiast and the voice behind SmartResizerr.com. I love testing gadgets, breaking down specs into plain English, and helping everyday people find the right tech without the overwhelm.